
Mini quilts are great for adding a splash of color to a room. I’ll show you how to add little pockets to the back of your quilt for easy hanging.
This method is for quilts that are less than 24″ wide.
Materials needed:
- 5″x 10″ fabric for two pockets (or 5 x 20″ fabric for four pockets)
- A small wooden dowel (cut to the width of your quilt minus one inch; dowels are available at craft stores or home improvement stores)
1. Before binding the quilt, cut two 5″ squares using the same fabric as your backing to create two pockets.

If the direction of your quilt doesn’t matter, you can add pockets to all four corners so that you can change the direction of how you hang your quilt from time to time. If you’d like that flexibility, cut four 5″ squares and create four pockets.
2. Fold the squares in half along the diagonal. Press.

3. Topstitch 1/8″ along the diagonal.

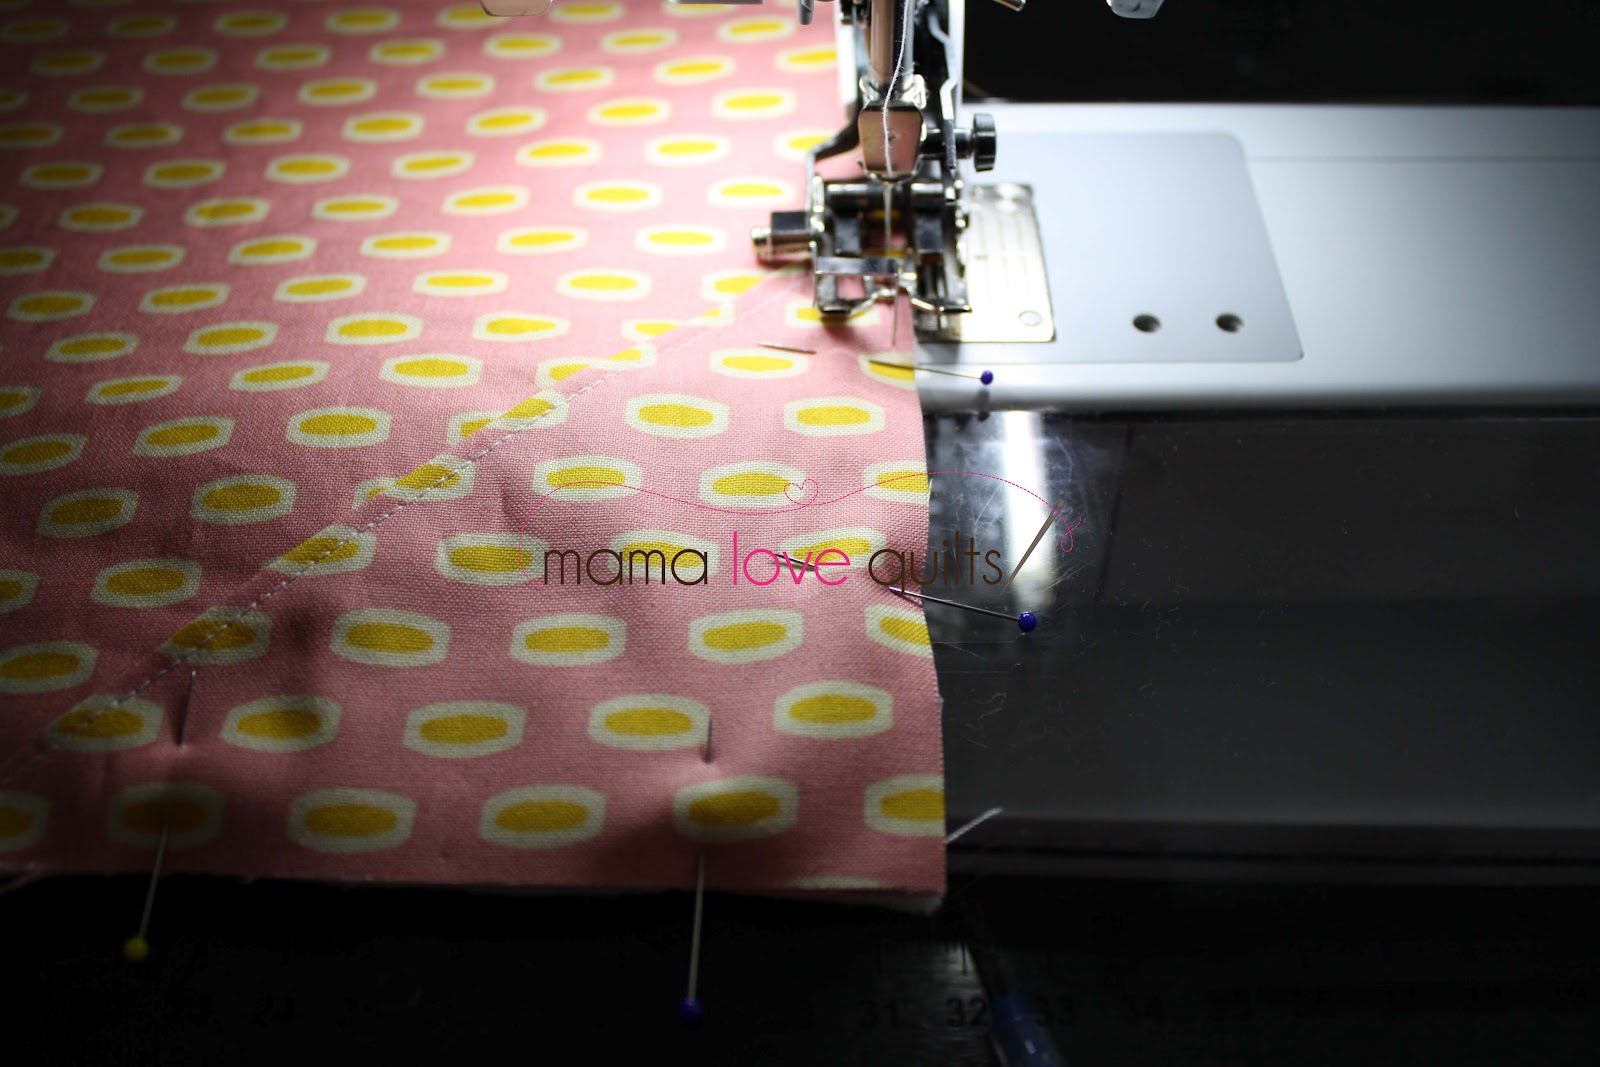
4. Pin the pocket to the corner of the quilt.

5. Machine baste to the quilt using a walking foot and a 1/8″ seam. You will secure the pocket with additional stitching when you add the binding.
6. Repeat for the remaining pocket or pockets.
7. Bind.

8. Decide where you want your quilt to hang and how far apart you want the nails to be. You’ll want the nails to be able to support the part of the dowel that is not inside the pockets.
9. Place the dowel in the pockets and hang the quilt on the nails.
10. Step back and enjoy your handiwork!

If you’d like to know more about the process involved in making this mini, click here and here. If you have any questions, feel free to ask me in the comments section.
Happy sewing!
26 comments
I love this idea!! Thanks!
Nicole .. That is wonderful thank you for sharing that!
I should have read this before I bound my first mini!
I'm guilty of just grabbing a stapler…oops!
great tutorial and method! love that little mini as well x
Thanks for sharing your tutorial, really enjoyed seeing all your projects on your blog — love your Starburst quilt!!
Thanks so much for sharing this tutorial! I had tried another method of hanging before, but I like this method a lot more. The mini is adorable!
Great idea! Thanks for sharing this neat technique – it's a nice finish for a mini.
I'm working on a mini right now. I'll have to try this, thanks! 🙂
This was great – I just did this this morning to add hanging pockets to the mini I made for my tutorial.
Great tutorial and a tip to be used by many. Thanks Nicole!
Oh thats a good idea … if I ever get to make a mini for myself I will use it.
Great tutorial! Such a quick and easy way to brighten up a wall =D
Thank you for the tutorial – great idea, clearly explained!
Thank you for the tutorial – great idea, clearly explained!
Oh my goodness this is so fast and easy! What a great idea! Thanks for posting!
Great tutorial! And such an easy solution for hanging minis!
Vicki @ Quilting Lodge
Nicole, Thanks for sharing your tip. I will have to use this method for my doll quilts. Great idea…..Judith, Texas
Nicole, Thanks for sharing your tip. I will have to use this method for my doll quilts. Great idea…..Judith, Texas
I have a few minis here that I would like to hang on the wall – thanks for the tutorial!
Great idea! Thanks for sharing…:-)
The House Quilt came out so great! Thanks for the hanging tutorial.
Really helpful, smashing thanks 🙂
I really love this mini.. did you paper piece it or is it just the fabric?
Thanks so much for this idea!
Great idea. Thanks for the tutorial.
Comments are closed.