
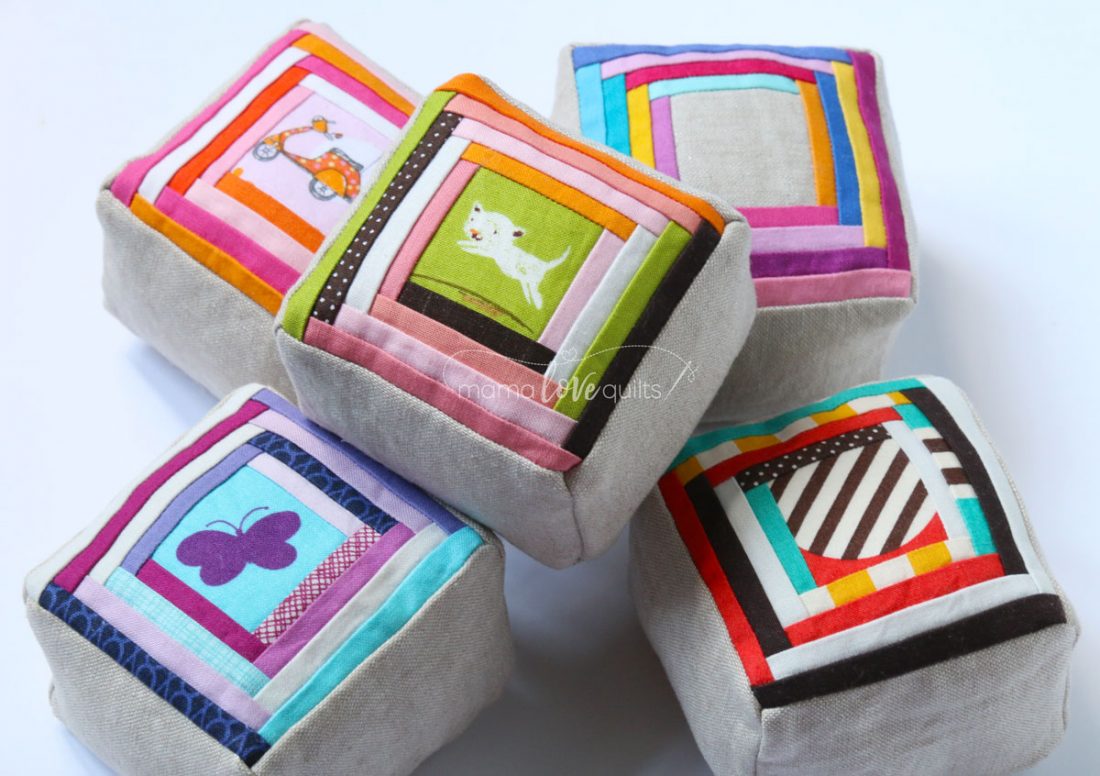
One of the projects I love to make is a pincushion. You can never have too many of them. Plus, they make great gifts for the sewists in your life. I recently made a bunch of them for a group of friends.
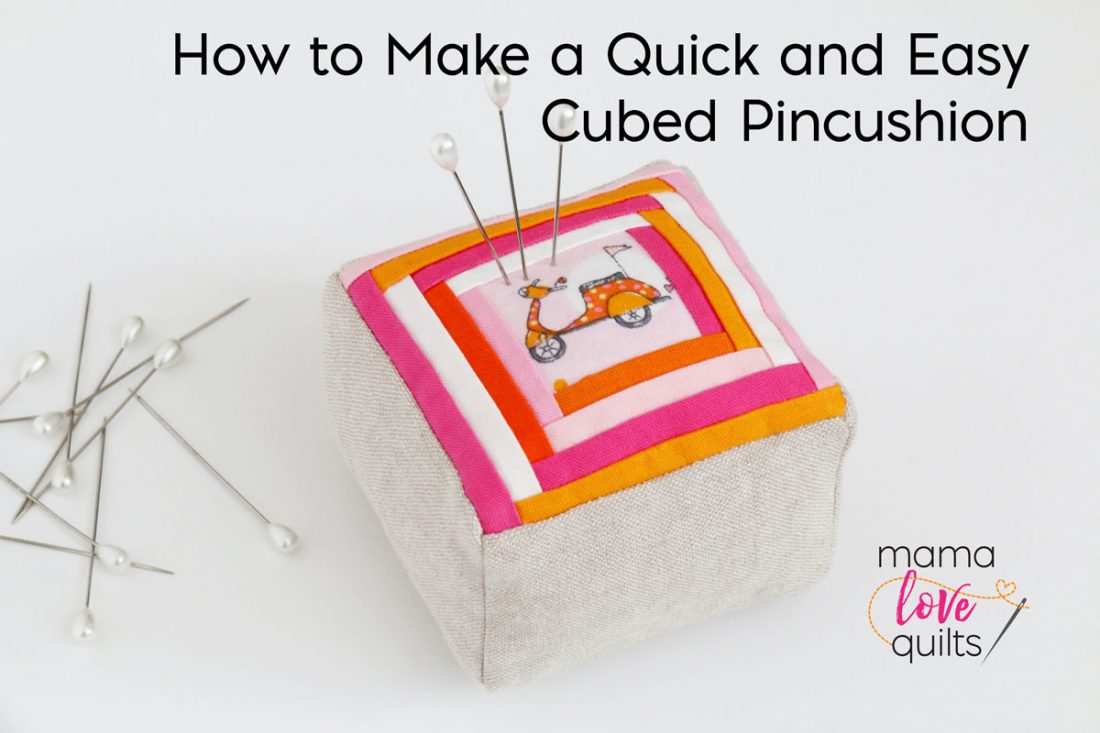
Today I’m sharing a tutorial on how to make a quick and easy cubed pincushion. I used my mini log cabin block and turned it into a pincushion. This pincushion finishes as a 3″ cube.
Related: This is What Happens When You Play with a Mini Log Cabin Block
What you’ll need:
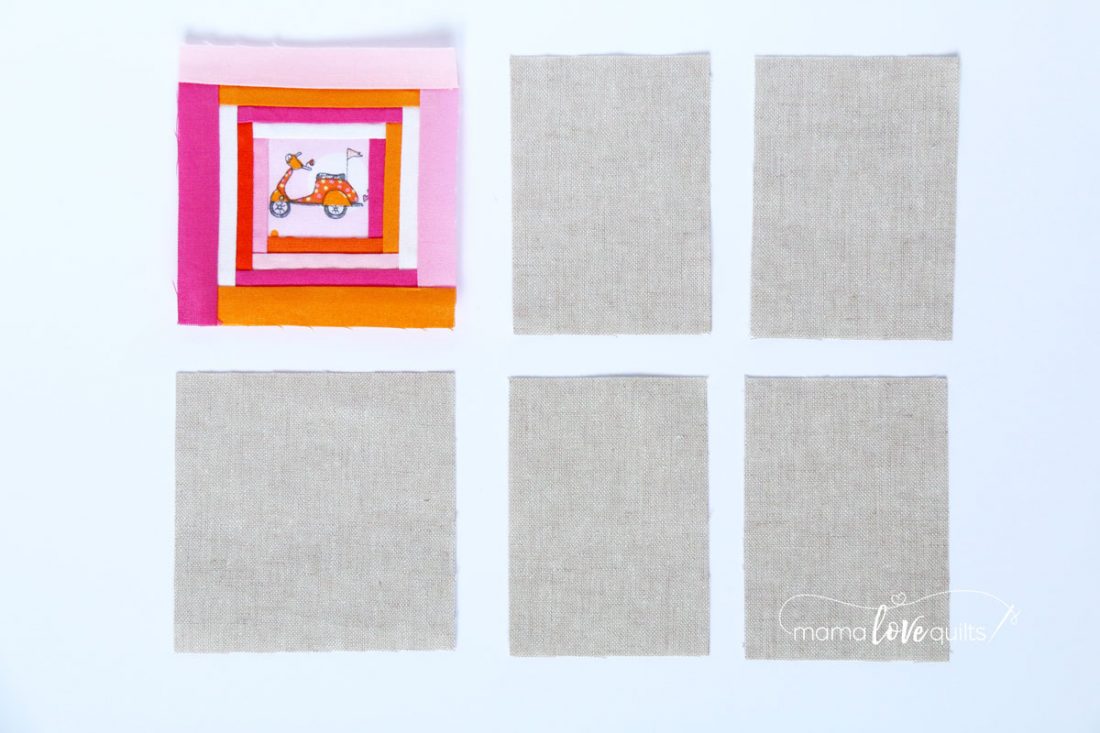
- 1 finished mini log cabin block (or use a 3 1/2″ x 3 1/2″ of fabric for the top of the pincushion)
- Fabric for the sides and bottom
- Sides: 4 pieces cut at 2 1/2″ x 3 1/2″
- Bottom: 1 piece cut at 3 1/2″ x 3 1/2″
- Fusible interfacing
- Polyester fiber filling or your preferred stuffing
- Basic sewing supplies
What to do:
1. Fuse the interfacing to the wrong sides of the side and bottom fabrics and the log cabin block.
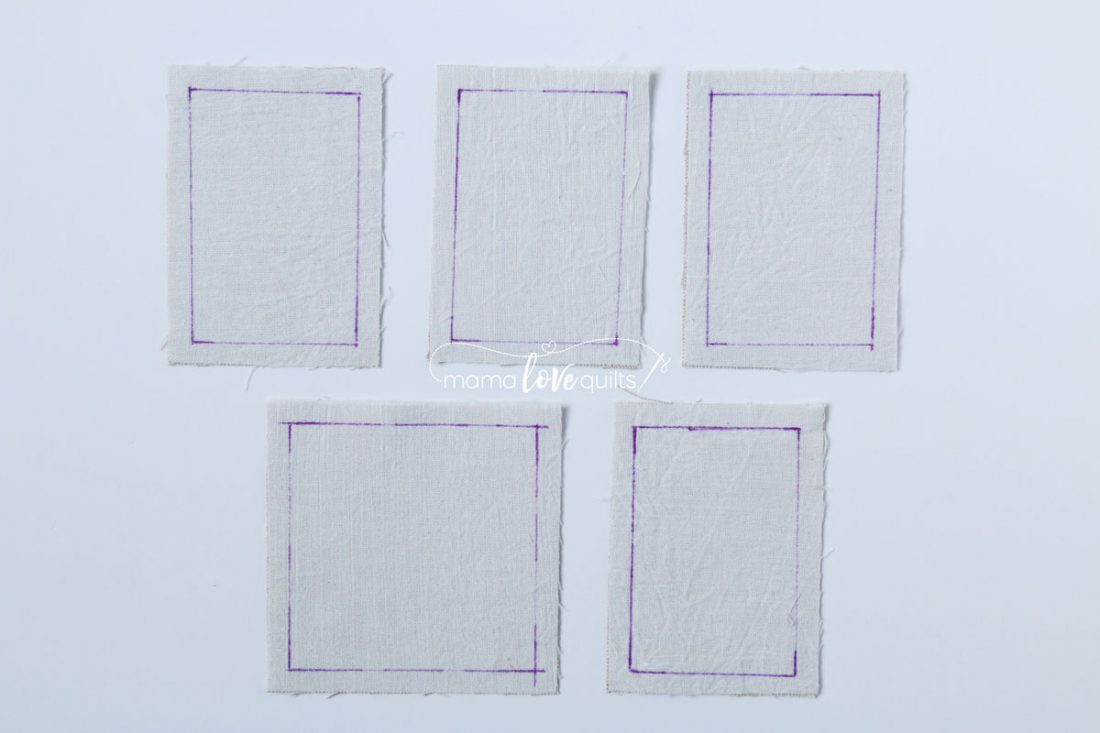
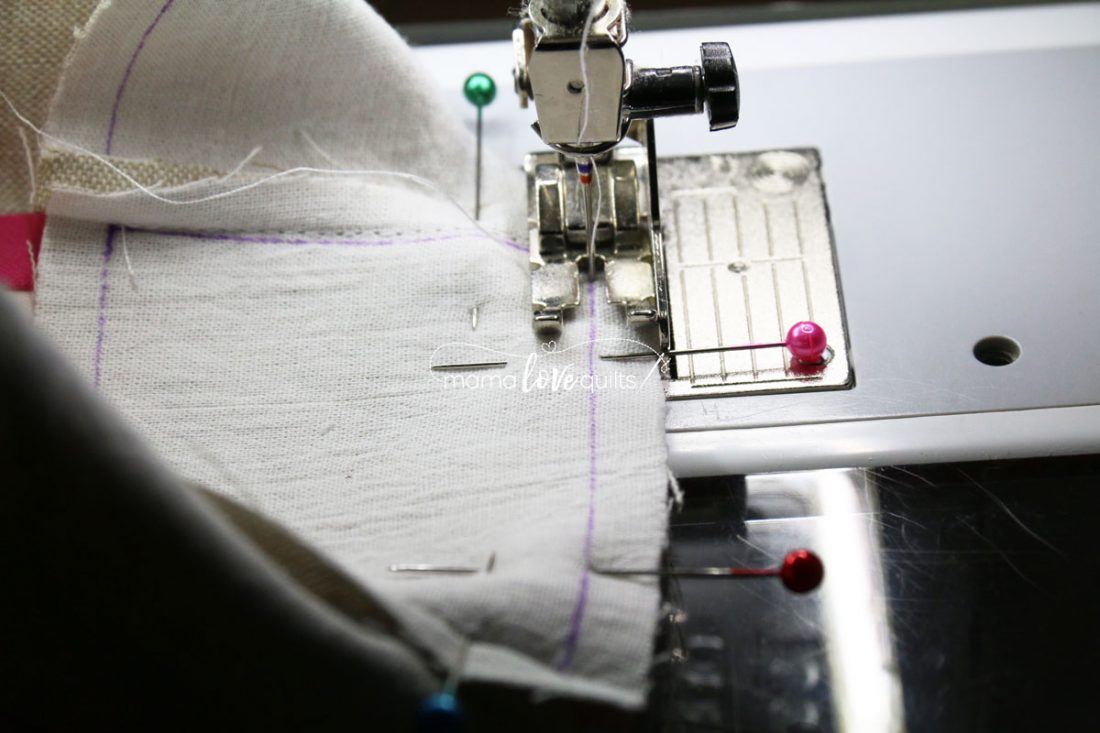
2. Draw a line 1/4″ from the edge on the side and bottom fabrics. Use these lines as guides when sewing the pieces together.
3. With right sides together, sew the sides together along the short edges, starting and stopping where the lines intersect. Be sure to backstitch at the beginning and end of each seam.
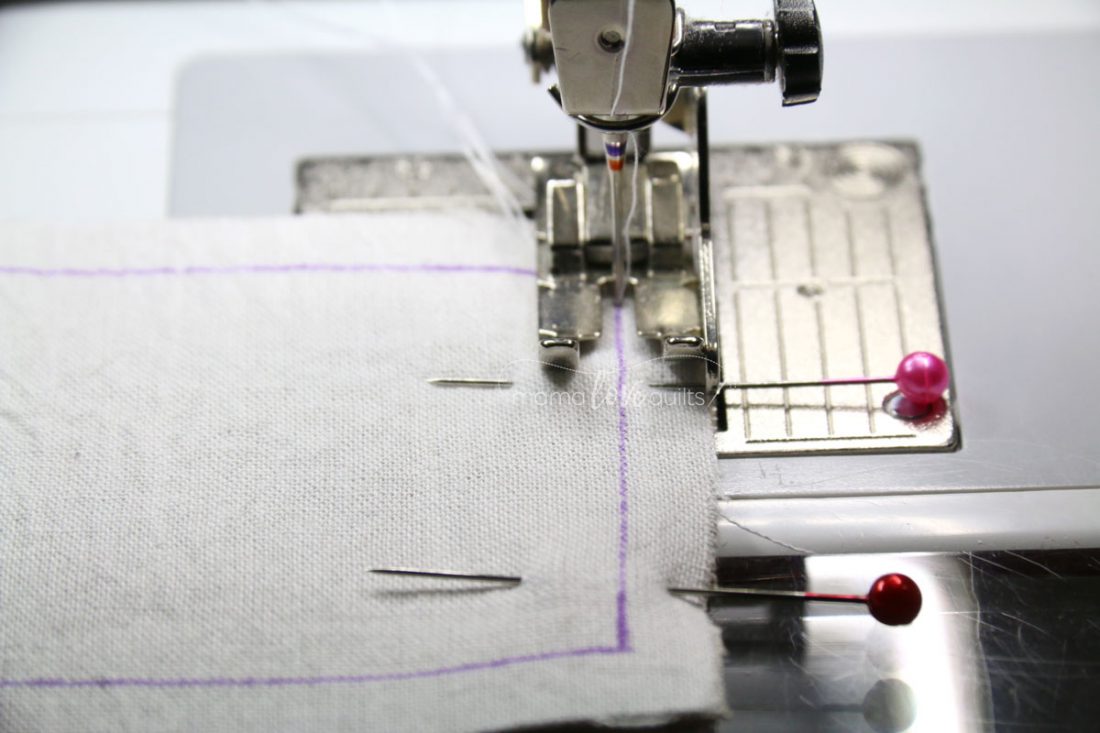
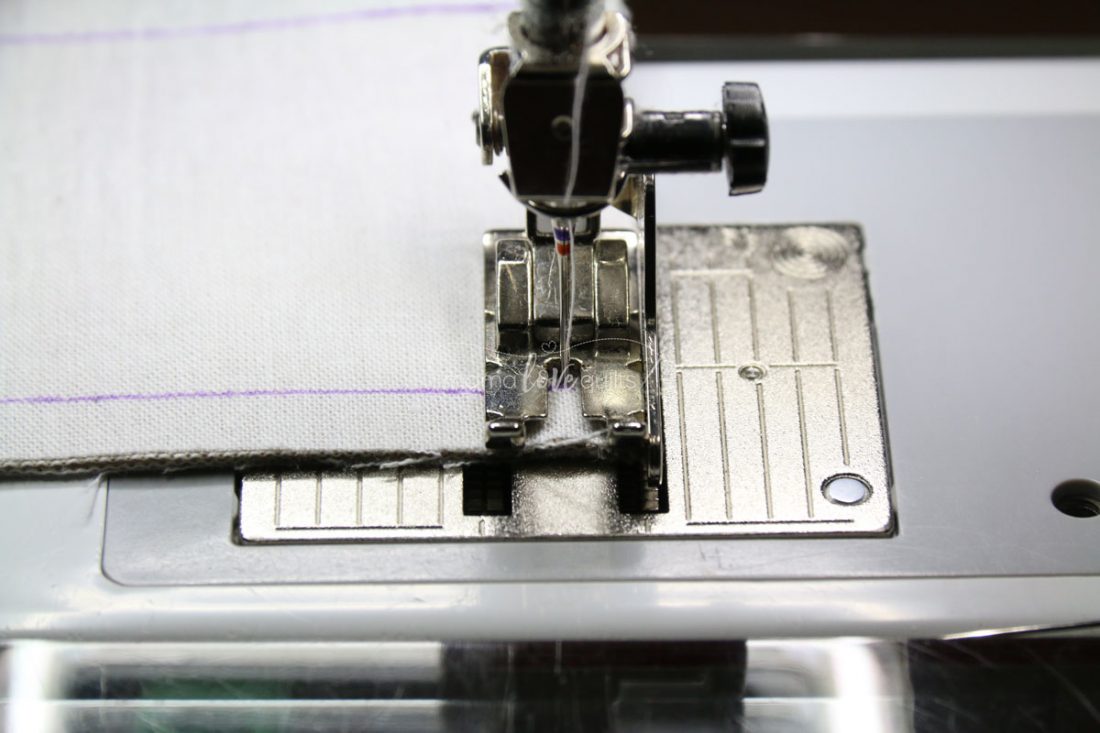 You will need a space at the beginning and end of the seam with no stitching as shown below.
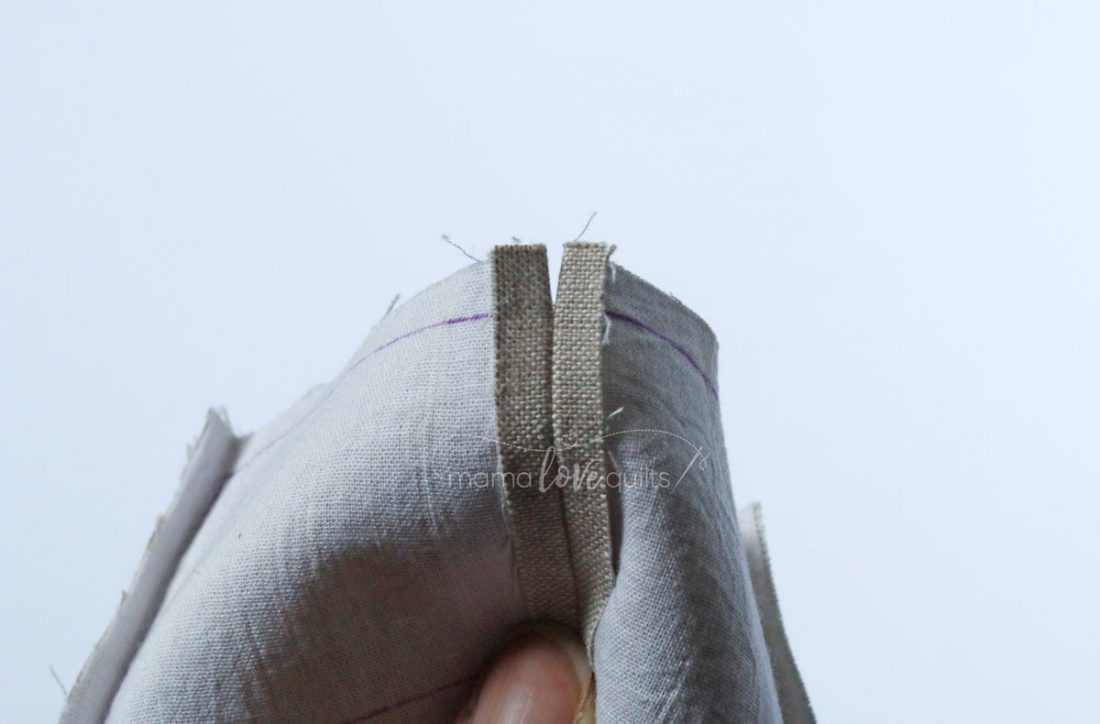
This is what your sides should look like when sewn together.
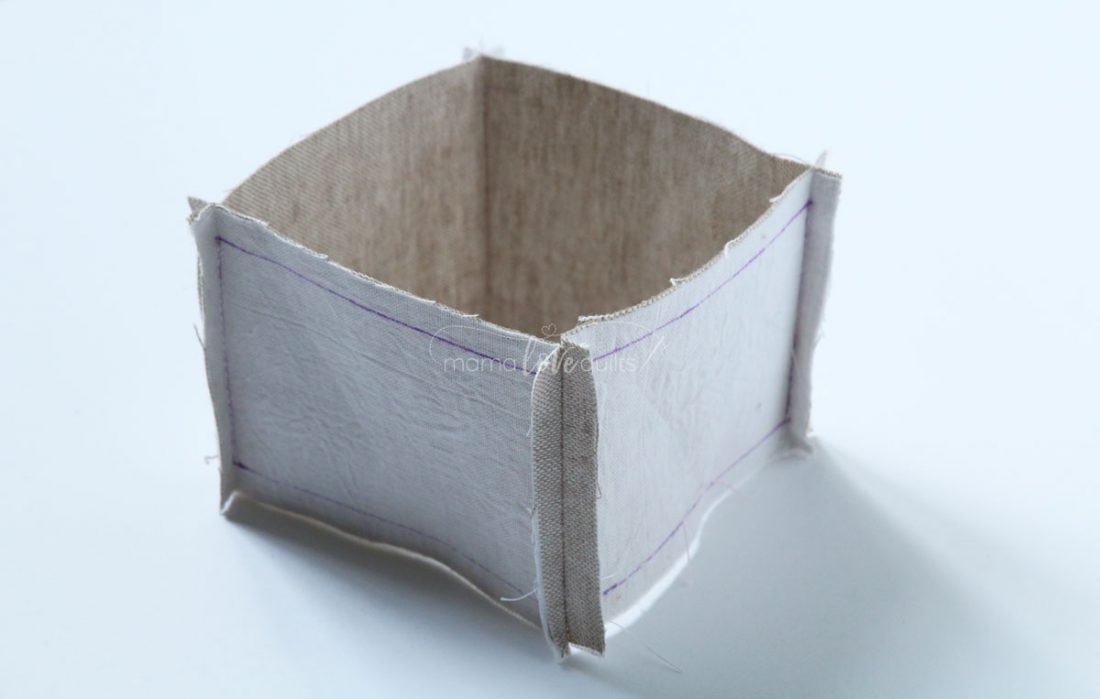
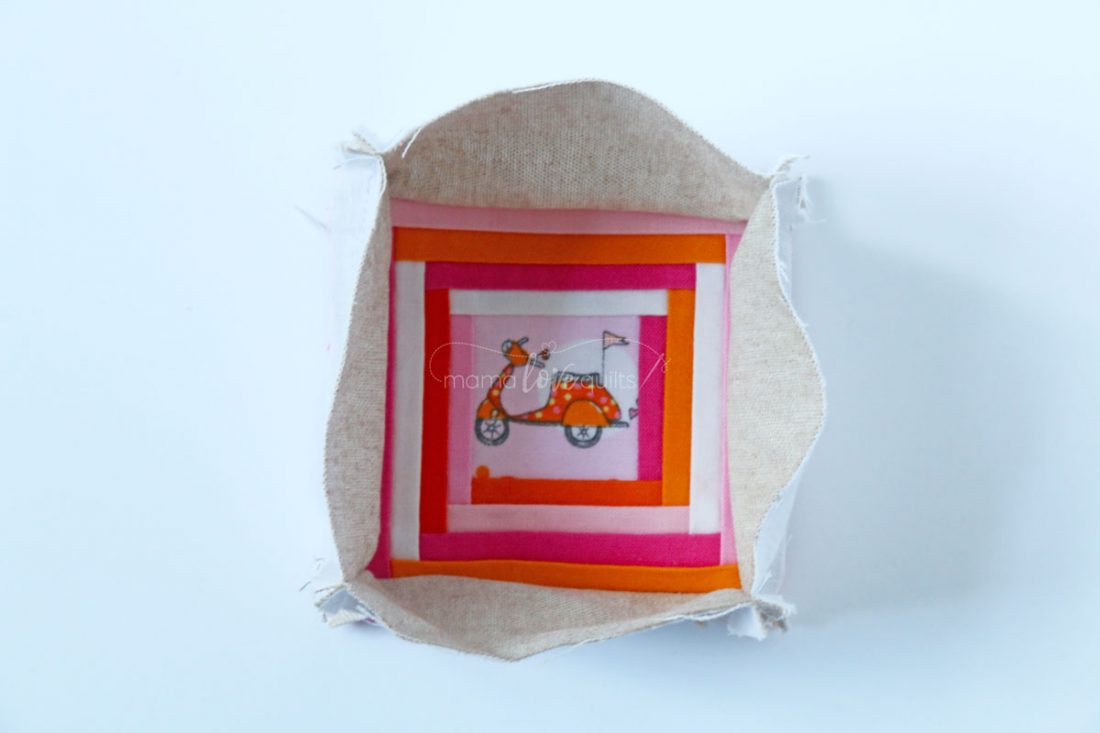
4. Sew the sides to the finished log cabin block (or top if you are using a single piece of fabric for the top). Work one side at a time, with right sides together, sewing the sides to the finished log cabin block. Be sure to follow the marked lines and start and stop where the lines intersect as in step 3.
Your sides sewn to the top should look like this photo below.
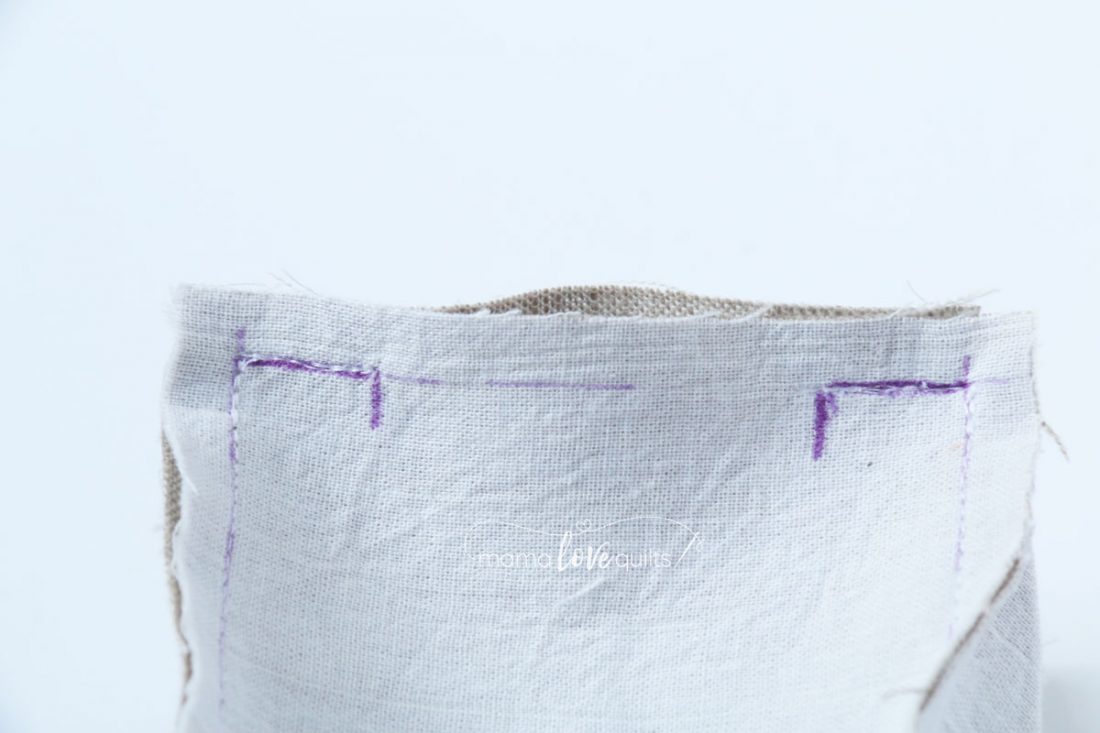
5. Sew three of the four sides to the bottom piece as in step 4. Sew the bottom to the fourth side leaving a 2″ gap for turning. I made a mark about half an inch from the beginning and end of the seam to remind me to leave space to turn the pincushion right sides out.
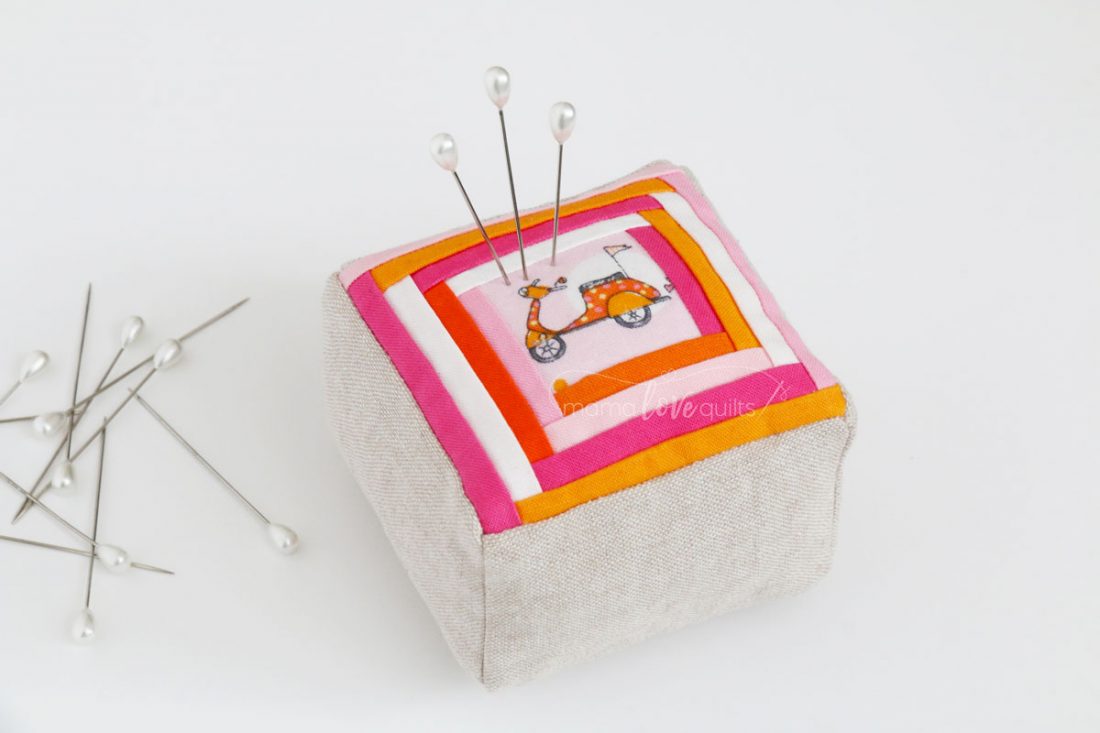
 6. Turn the pincushion right side and fill with the polyester fiber filling. Hand stitch the opening closed.
Enjoy your new pincushion!
I hope you find the tutorial easy to follow and enjoy making a new cushion for your pins. If you make a pincushion using this tutorial, please be sure to tag me on Facebook, Twitter, Flickr, or Instagram (@mamalovequilts). I would love to see your version!
Let me know if you have any questions about the tutorial.

16 comments
Thanks so much for the tutorial! I really like the chunky look of your pincushions, and your fussy cut centers are adorable!
My pleasure, Karen! And thank you for the kind words!
This is so cute. I love the tutorial.
I love non-magnetic pincushions now. I used to not really care, but I do not like magnetised pins that stick together and stick to my scissors and just ugh. I love your pincushion. Now I will make one after I finish making a Pokey Puppy baby book for my baby (grand) Sarah
Happy Summer hot boiling days, Nicole
Thanks, Rosemary! I know what you mean about the magnetic pincushion. I have one in my collection, but there’s nothing like a handcrafted cushion. Happy stitching on the Pokey Puppy book. I bet it’s adorable.
I look forward to making this, thanks Nicole!
Thanks, Diana! Let me know if you have any questions. Happy stitching!
I’m thinking your pattern would also be good for a baby gift – little homemade blocks! Your tutorials are great! I’ll be making a pin cushion for sure.
Thanks, Cindy! I hadn’t thought of that, but I think it’s a great idea! Baby blocks!
SO CUTE! Thanks much for sharing your tutorial!!
Thanks, Debbie! They are so quick and easy to make!
Love this tutorial, and especially the little log cabin! They are way too cute!
Thanks so much, Jayne! Log cabin blocks are one of my all-time favorite blocks!
Super cute pin cushions!! I love your bright colors. Thanks for the tutorial!
Thanks, Kathleen! My pleasure!
Very cute! Thanks for the tutorial- I was wondering how to keep those corners so square- I think I can do it!
Thanks, Susan! You can do it too! I think the key is to not sew all the way to the edge, but stop where the marked lines intersect. Plus, gently poke out the corners with a pointy tool. Be careful so the tool doesn’t make a hole. And above all – have fun!
Comments are closed.