
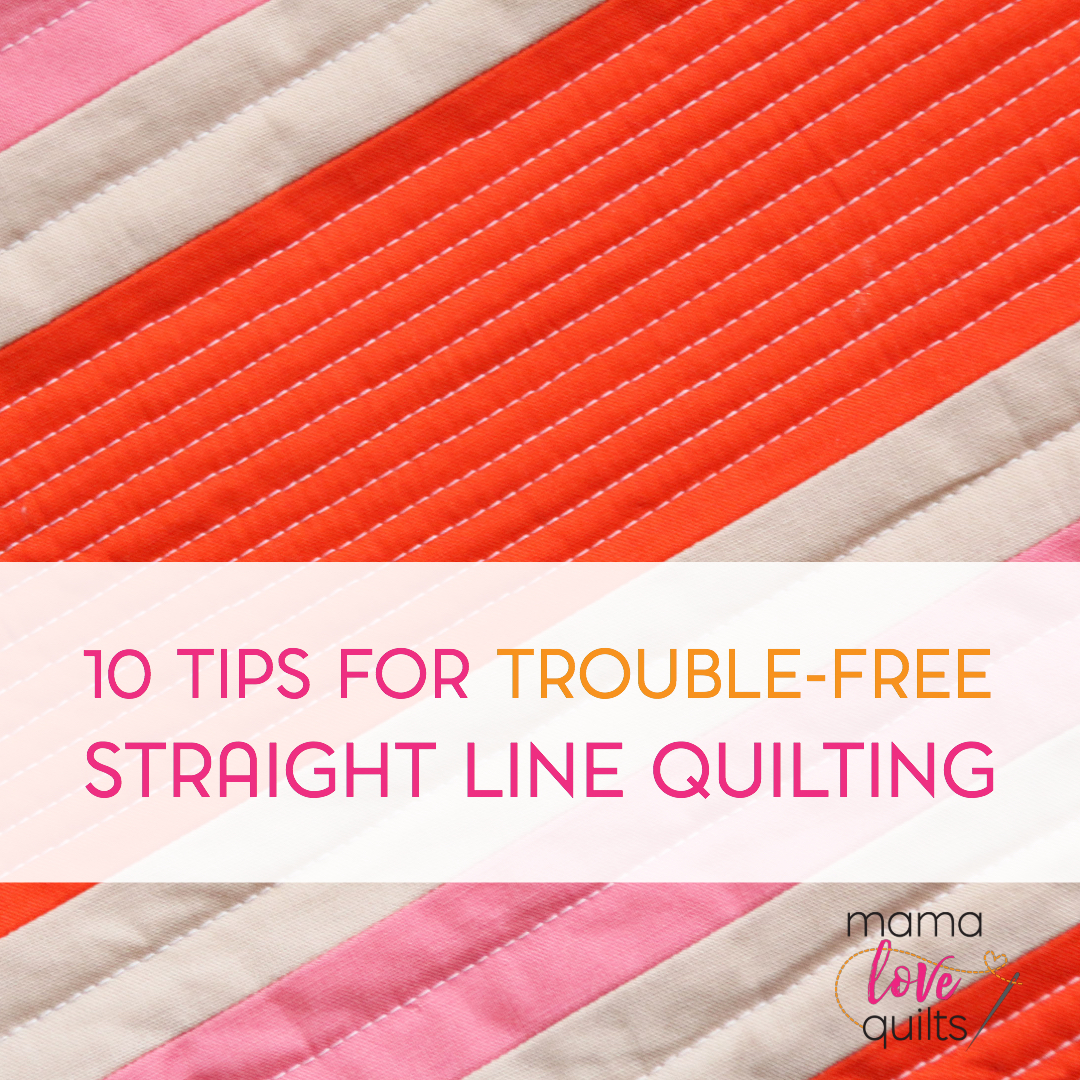
In response to my last post on the hera marker, I had a reader ask me to share tips on quilting straight lines. I imagine she’s not the only one with questions, so I decided to put together this list of tips to share with you.
Tip #1: Mark
If you want super straight lines, there is no substitute for marking. Check out my post on easy peasy marking.
Tip #2: Pin baste
Correctly pin basting will prevent a lot of problems. I pin baste my quilts on an old folding table. I clamp the backing to the table with clips. You can use special quilt basting clips. Extra large office binder clips work as well.

When you baste your quilt, make sure the backing is smooth and taut. Here is the backing on my table, waiting for the rest of the sandwich. Notice that I’ve put blue painter’s tape to hold the ends of the backing because the quilt was shorter than the length of the table.

I use adhesive spray for my mini quilts, but for anything over 24″, I use pins. I like the #1 curved pins as they don’t leave large holes in the fabric. Using a Kwik Klip makes the task easier on your finger tips. Ask me how I know!

By the way, you will not want to pin baste on your nice dining room table as the pins will probably leave nasty little scratches.
Tip #3: Use a walking foot
A walking foot, also known as an even-feed foot, will help evenly feed the layers of the quilt through the machine. Using a walking foot will help reduce the likelihood of puckers forming or the layers from shifting.

Tip #4: Use an extension table.
Unless you have your machine set in a sewing cabinet, you may benefit from having a Plexiglass extension table custom cut for your machine. It helps to support the weight of the quilt so that you can lay it flat while you quilt. They can range from 11.5″ x 15″ to 24″ x 24″. Get the biggest one you can. It’s great for free-motion quilting too!

Tip #5: Roll and secure the quilt
If your quilt is more than 36″ x 36″, it’s a good idea to roll it on both sides before quilting. Lay it flat on the floor and roll left and right sides toward the center to the area that you are about to quilt. If your quilt is really big, you may find it helpful to secure the rolled sides with clips like these or these. They will hold the quilt taut as you feed it through the machine, making it easier to run it through the machine in a straight line. Also, rolling the quilt gives you two handles to hold as you quilt, which can help reduce drag.

Tip #6: Anchor the quilt
Harriet Hargrave, author of the classic book, Heirloom Machine Quilting, advises that anchoring the quilt is the way to go for trouble-free machine quilting. With anchoring, you stitch in the ditch along the major seams to prevent the layers from shifting during quilting. When I anchor my quilts, I use water soluble thread for temporary stitches while I quilt. After I’m done quilting, the stitches disappear with a spritz of water or a trip in the washing machine.
Tip #7: Start quilting in the center
Start in the center and work from left to right. Once you reach the right edge of the quilt, take it out of the machine, turn it around and place it in the center and quilt the other side, working from left to right again.
Tip #8: Keep your eye on the line
Whether you are following a marked line, painter’s tape or a seam guide, keep your eye on the line you are following. As long as you’ve got your foot pressed on the pedal, do not let your gaze wander. The second you let your eyes wander, you’ll probably get a wiggle in your line. Straight line quilting requires extreme focus.
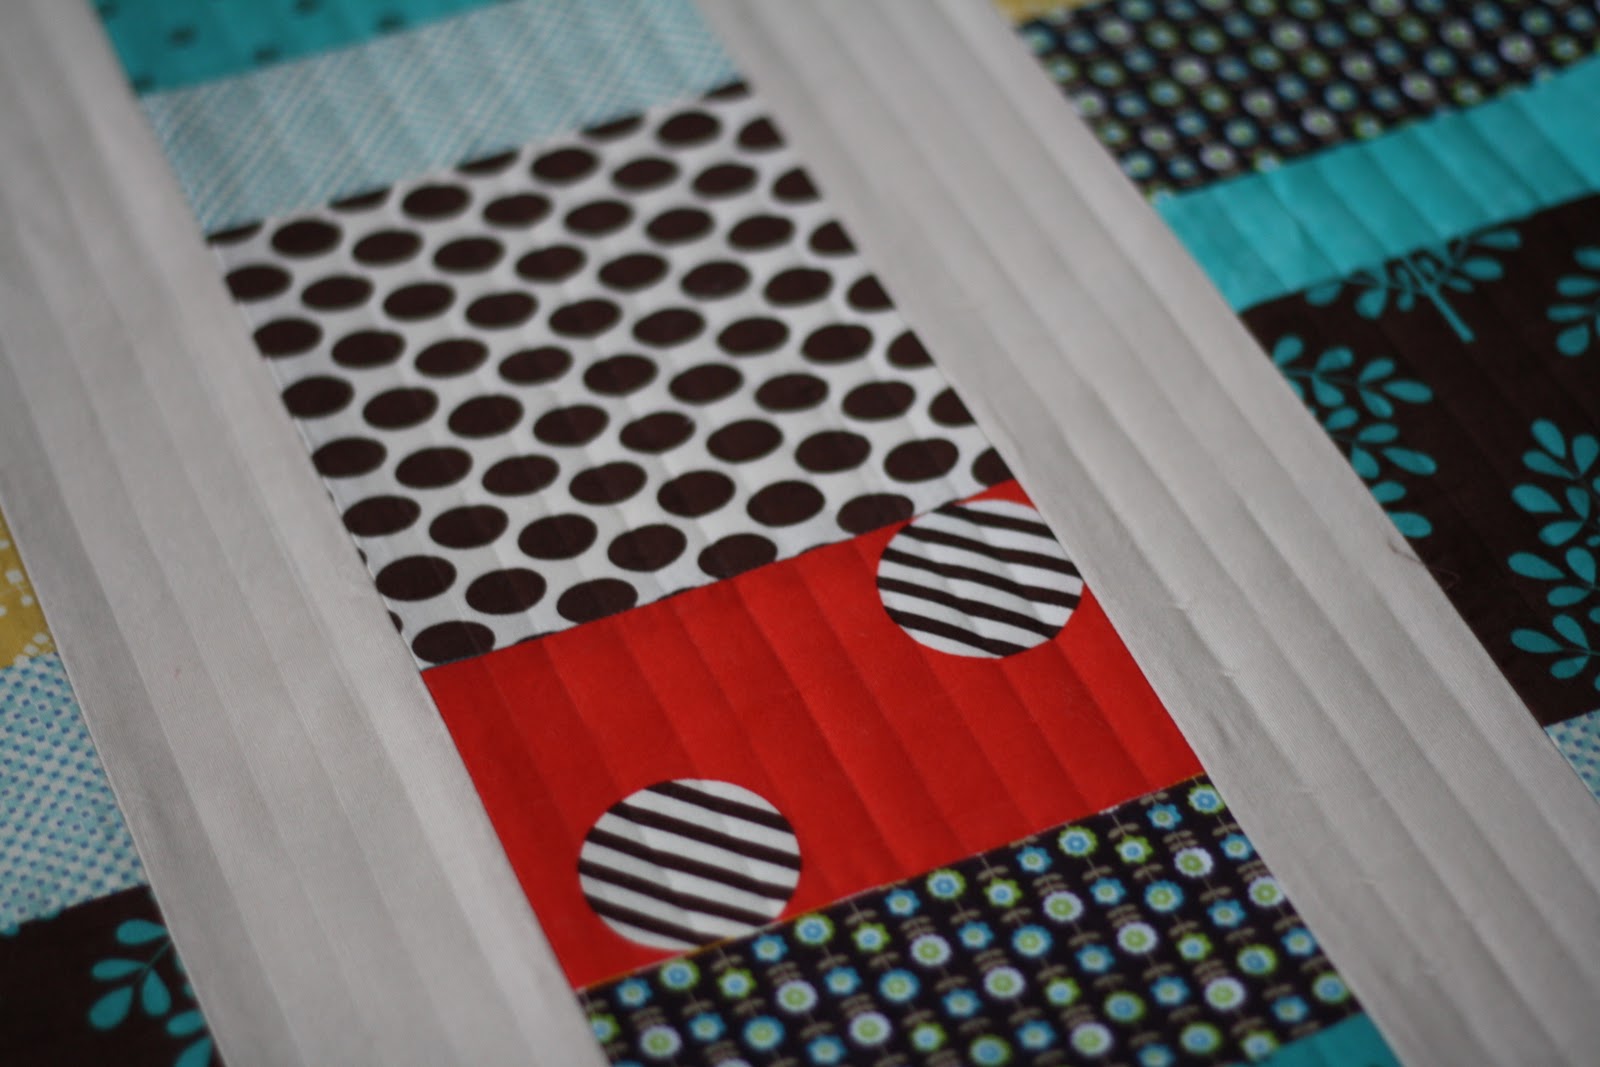
Tip #9: Quilt every other line
When I’m doing close parallel lines, I quilt every other line first. Then once I’m done working through the quilt, I go back and quilt the remaining lines. For example, if I want my quilting lines to be 1/2″ apart, I will first quilt lines that are 1″ apart. I find this helps to evenly distribute the fabric and prevents puckering or pulling of the top layer. Once those initial lines are done, I will go back and quilt the lines in between the first set of lines.
Tip #10: Practice
Okay, so tip #10 isn’t really a tip, but rather encouragement. The more you quilt straight lines, the easier it will be to get nice, neat straight lines. As Diane Gaudynski, author of the Quilt Savvy says, “Keep quilting. Your work gets better every day.”
By following these tips, you will be on your way to creating beautiful straight lines in your quilting. I’d love to see what you stitch up. Please share your quilting on the Mama Love Quilt flick group.
Please let me know if anything is unclear or if you have questions.

12 comments
Nicole, great tips. WATER SOLUBLE thread? That's something I never heard of before. Do you hand baste or machine baste with it? Also – do you start from the center each time and go out?
I also have never heard of the ws thread! What great suggestions you have listed….I will try quilting every other line also….Thanks much, Nicole!!
Thanks for the tips! Quilting every second line is a great idea!
Lots of great tips! I can second the sewing cabinet with a dropped area for your machine, if you can get one or afford one, and a walking foot. Thanks.
I have a spool of water soluble thread. I have no idea why I bought it, but now I'll have to try it out using your tip. I never thought about quilting every other line, but after reading it, it makes so much sense. Thank you for the great info.
Great tips!! I have been quilting for about 18 months and learn something new every day. Thanks!!
I love this tip. I am going to be sure and try it on my next project. However, with the anchor, not confident I would do it correctly. I learn best by seeing then doing. But gonna give it a try.
I have a question about basting. You have yours clipped to a folding table but I assume your quilt is wider than a folding table. Do you only do a section at a time? I feel like I need a good step by step tutorial (with photos) on the best way to baste. I always hurry through this step and my quilts always have puckers in them.
Thanks so much for these useful tips!
Love tip #9 about stitching every other line and then going back and filling in. I have not had a lot of luck straight line quilting, ending up with unsightly puckers. I'm wondering if it is my generic walking foot, not the original Brother brand, though I don't really know. This info helps, and I'll give it a shot!
Great tips for a beginner! Thanks!
My pleasure! I hope the tips are helpful!
Comments are closed.