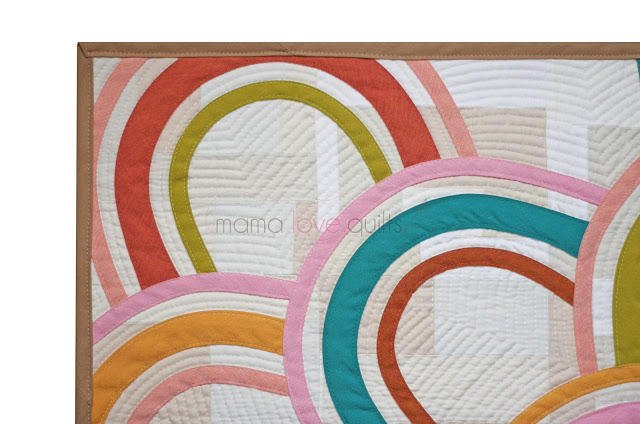
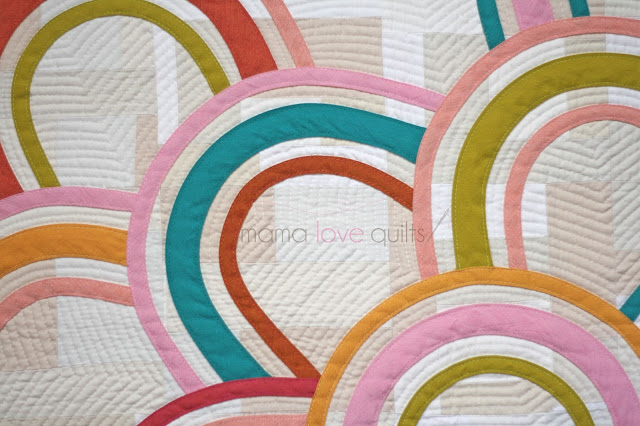
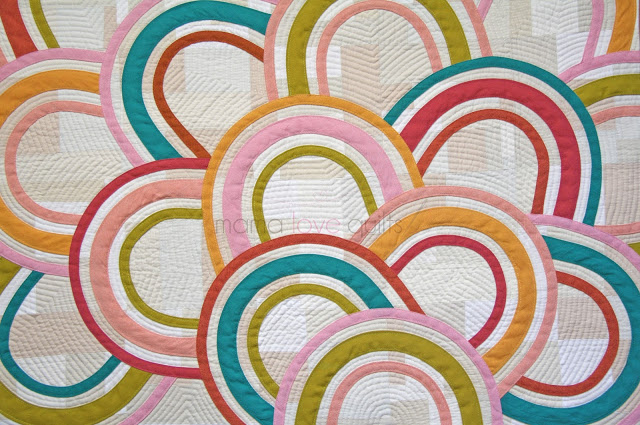
My goal this weekend was to finish my bias tape quilt. And here it is!
I’d like to introduce you to Lucky Arches, named after the Might Lucky Quilting Club that gave me a reason to explore working with bias tape in my quilt making.
Related: 3 Quilts that Will Actually Make You Want Bias Tape
In making this quilt, I learned 4 things.
1. Temporary adhesive is a must.
I can’t imagine working with bias tape without Wonder Tape. It really is a wonder – no sticky residue and great hold power, but yet easy to remove if you need to reposition the bias tape. I highly recommend it!
2. Narrow bias tape is easier to work with than wide bias tape.
In my quilt, I experimented with using two widths of bias tape – the 1″ and the 1/2″. I had a much easier time getting the narrower tape to bend into curves.
3. Use something to help guide placement of the bias tape.
To help guide the shape and placement of my arches, I turned a bowl upside down on the background fabric and used it a mold to shape the curves. Another strategy is to use an erasable fabric marker to draw lines as guides on the background fabric.
4. Make sure the background fabric is laying flat when applying the bias tape.
After I adhered the bias tape to the background, I noticed that there was a bit of a puff to the background fabric. Somehow the background fabric had bubbled while I was applying the bias tape. Thankfully, the puff disappeared with quilting. Next time, I’ll try to avoid the puff by taping the background fabric to my table with painter’s tape to make sure the fabric doesn’t shift as I apply the bias tape.
I know these tips will help me the next time I tackle bias tape in quilt making. I hope they are helpful to you too!


18 comments
The thinner tape really was easier! I liked the 1/4" width best, even though it was the same width as the Wonder tape. Your quilt is wonderful…I love the random spinning arrangement — so much movement!
I am going to use your wonder tape suggestion on a cosplay outfit I will be working on with yards and yards of bias tape on the edges instead of hemming
These are VERY helpful tips. I'm glad I read them now because I'm looking to make some tonight! Thank you! I LOVE the graphic nature of your quilt and the color scheme!
You don't know how much you are tempting me!! Thank you for the tips, I will remember these!
Wow Nicole that is really gorgeous!!!
I would have found tips 3 and 4 especially helpful if I had read this before I did my project. Nicely done Nicole. You took the challenge seriously with an awesome result!
I really like this Nicole! Did you work from the top down so you could hide the ends?
Wow! It's really great looking! Thanks for the tutorial. I really must try this I have bias tape coming out of my ears since I went to an estate sale. The had a big bag of sewing that I really just wanted the vintage embroidery scissors out of. See now I did need that bag.?
I love this quilt!! I have been watching your posts on Instagram! It also help put a tear-away stabilizer on the base fabric.
I love everything about this!
This is fabulous Nicole- love the colours you have chosen and the quilting too! I am loving the bias tape quilts that are popping up on blogs! Your hints are really useful! I really want to try one of these…
This is such a pretty quilt and really draws the eye in. I haven't come across a bias tape quilt before, very interesting reading your tips.
What a fabulous quilt! Love the colours and the curves. Thanks for the tips.
Pretty amazing is what I'd call this!
I love this so much!! It's gorgeous, both the design and your incredible quilting. Thanks so much for the tips.
I love what you have done with this Bias Tape exercise. I did one…copied what Kat did, but now I have to do what you did. I love it.
I cannot get over this bias tape quilt, Nicole! I love love love it!!! Thank you for the tips. Yours is REALLY inspiring 🙂
Thanks, Ivy! I’m so happy with how it turned out.
I hope the tips are helpful. Let me know if you have any questions.
Comments are closed.