
Happy New Year!
January is my month to be Queen bee in the That Stash bee. This bee focuses on updating traditional blocks with a modern look by using contemporary fabrics.
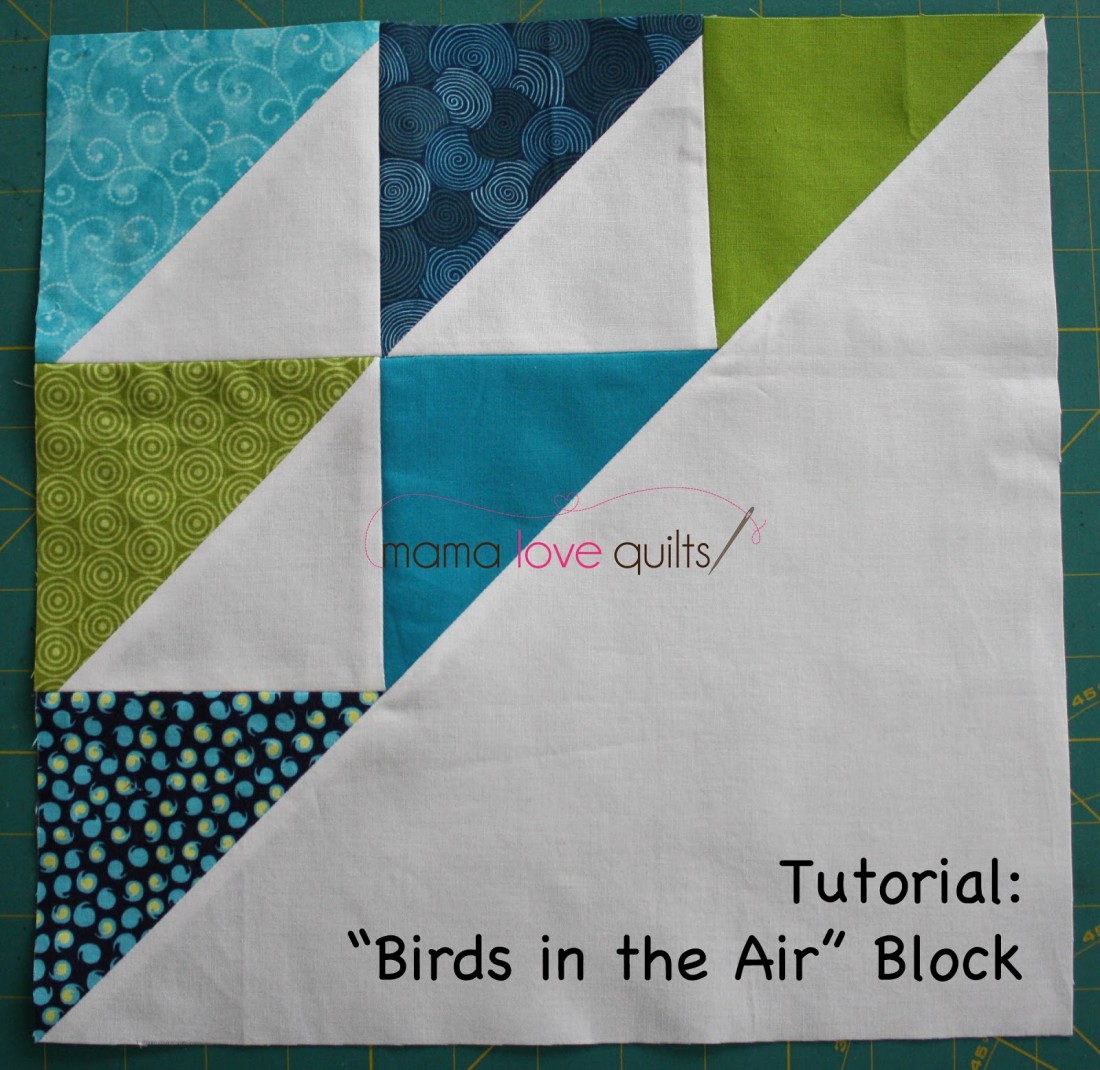
Finished size:
12″ square
One 12 7/8″ square white fabric (for background)
Three 4 7/8″ squares white fabric (for background)
Six 4 7/8″ squares of prints or solid fabrics (make sure they contrast strongly with the white background fabric)
This is enough fabric to make 2 blocks.
Cutting:
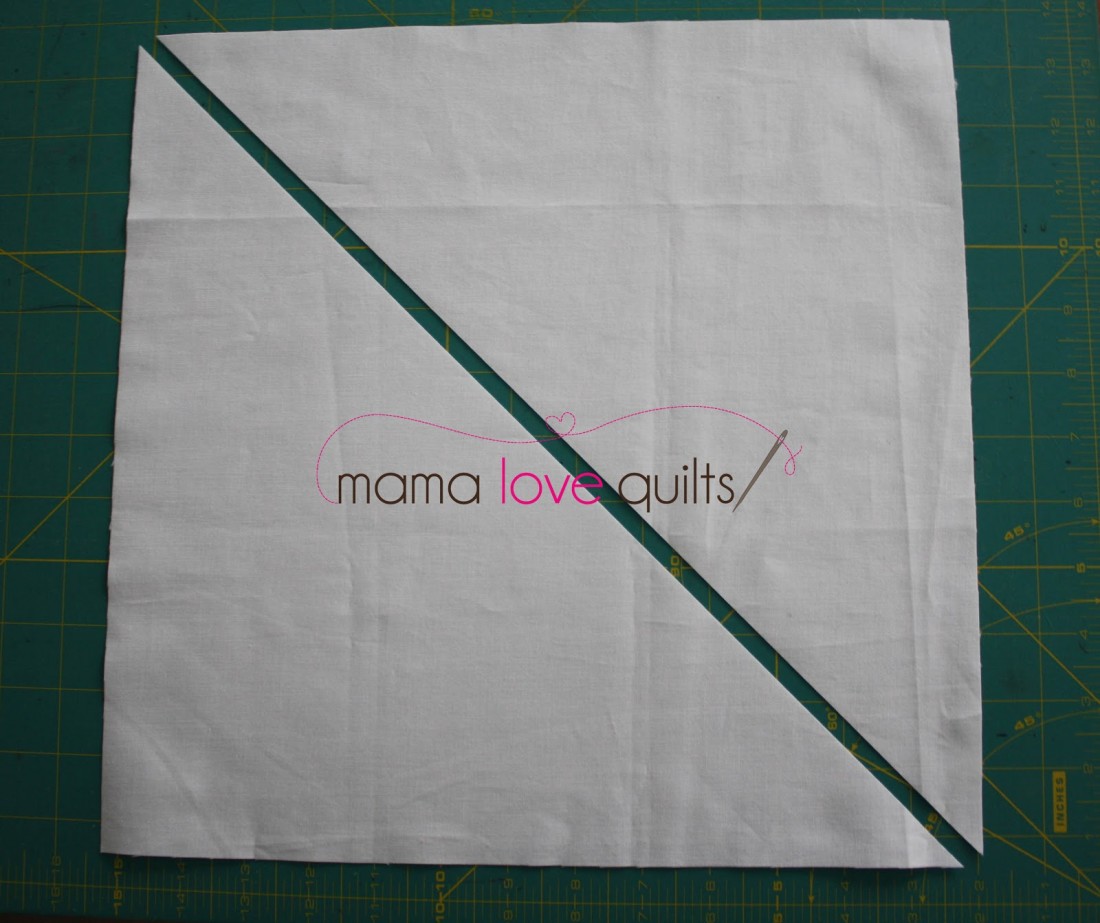
Cut all pieces in half along the diagonal.
Here is the 12 7/8″ square. For one block, you only need one of the triangles. Set the other aside for a second block.
Here are the 4 7/8″ squares. For one block, you’ll need 3 white triangles and 6 print/solid triangles. Set aside any extras for another block.

Piecing:
Lay out the pieces as shown.
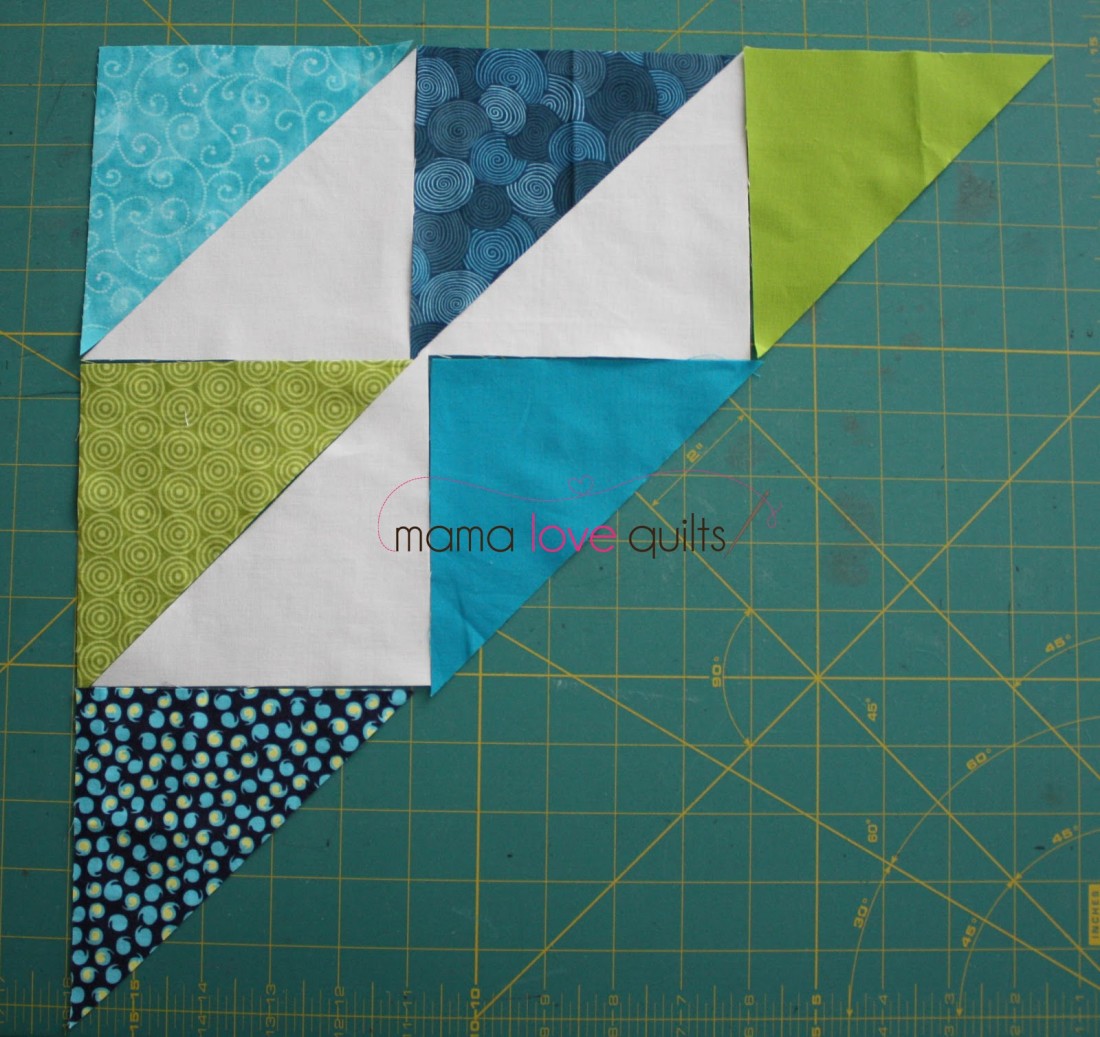
Sew the small triangles together, working one row at a time. Press the seams open. Sew the rows together until you have one big half square triangle. Press. Then sew the large half square white triangle to the pieced half square triangle to finish the block.
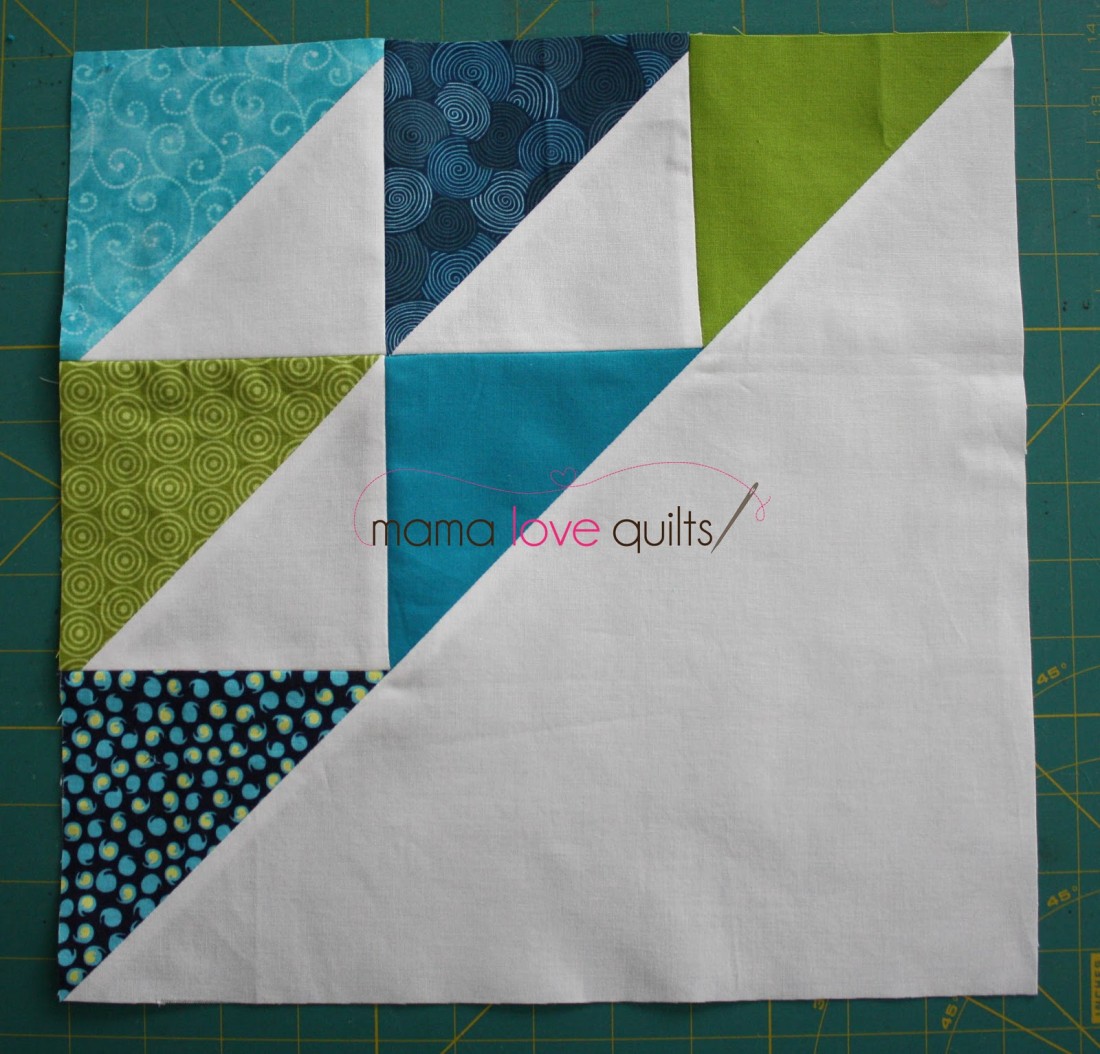
Press. Trim to 12 1/2″ if needed.
Enjoy the birds in the air and start thinking of all the layout possibilities. Here are a few that I drafted in EQ7.
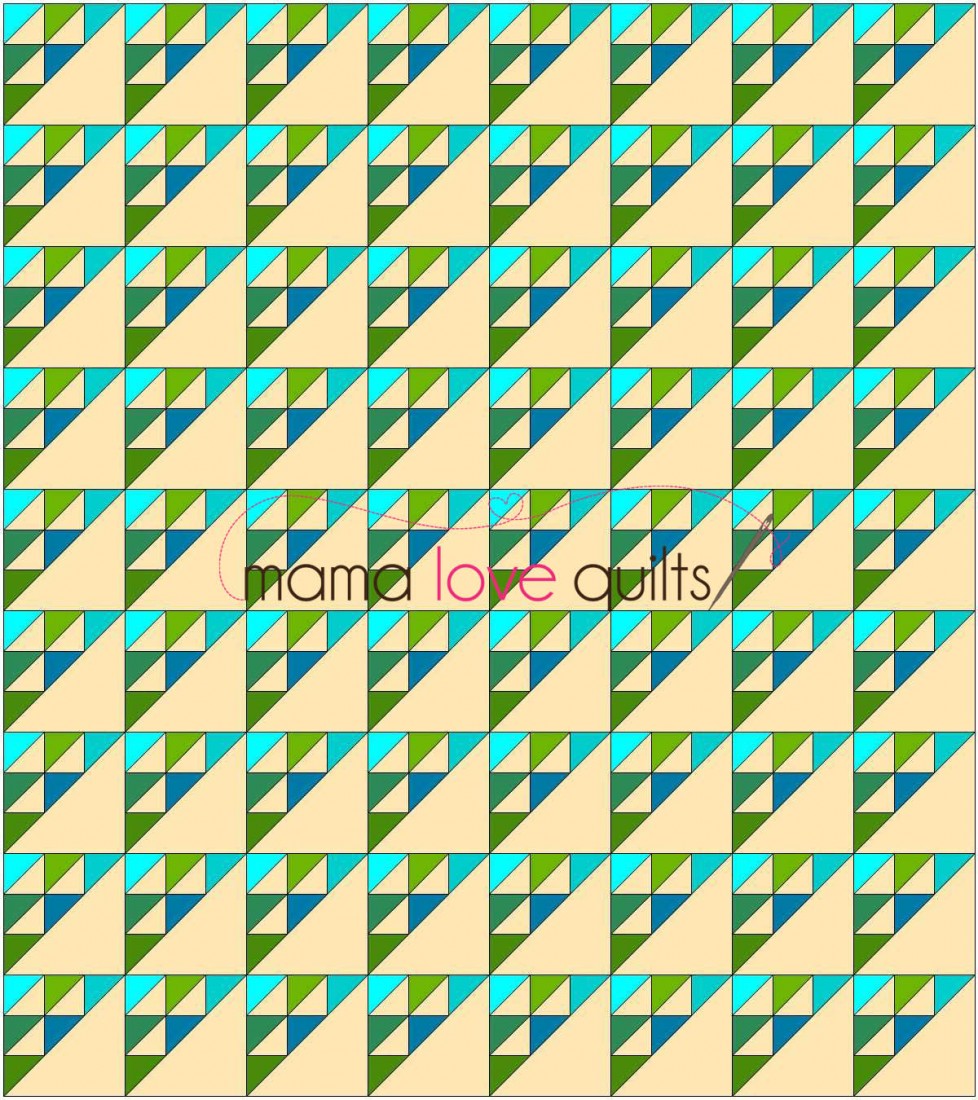
You could go the traditional route and lay them out like this…
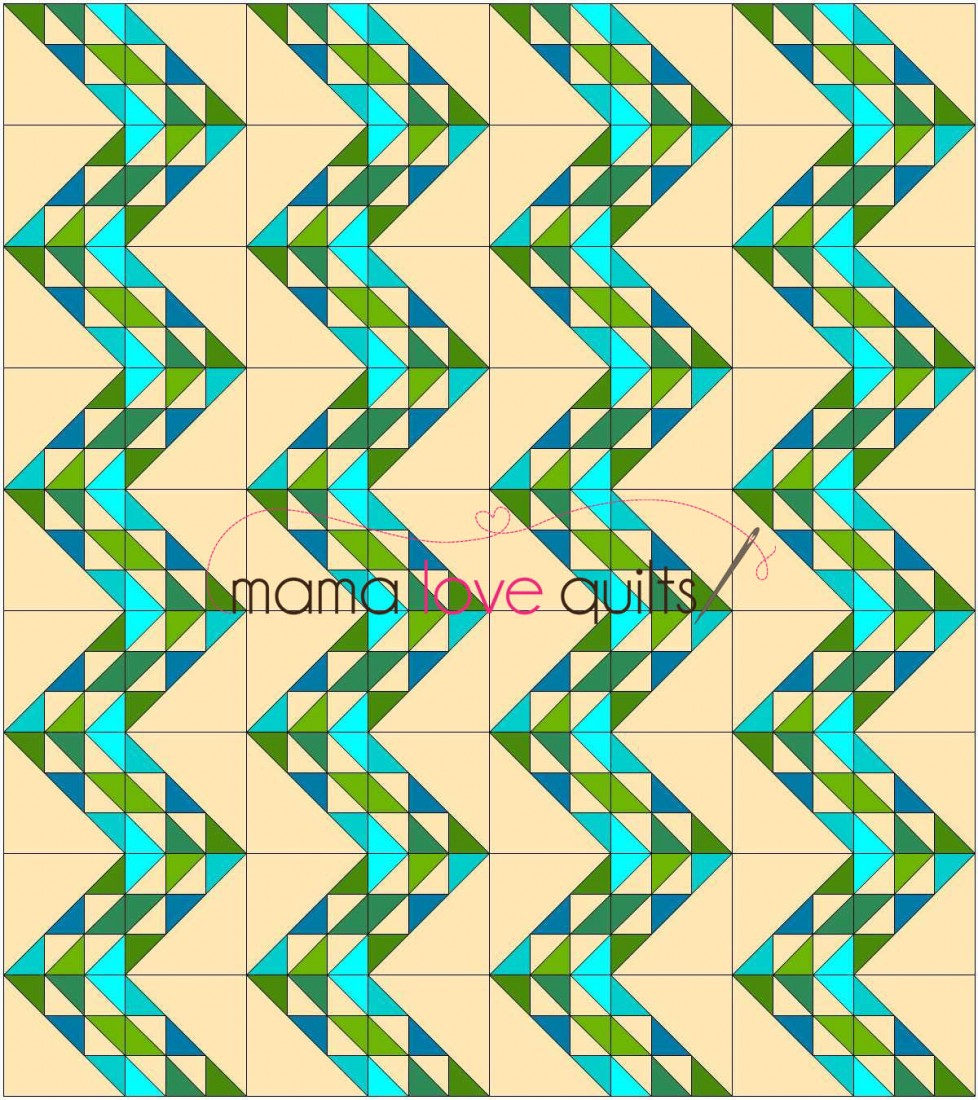
or jazz things up with some zig zags like this…
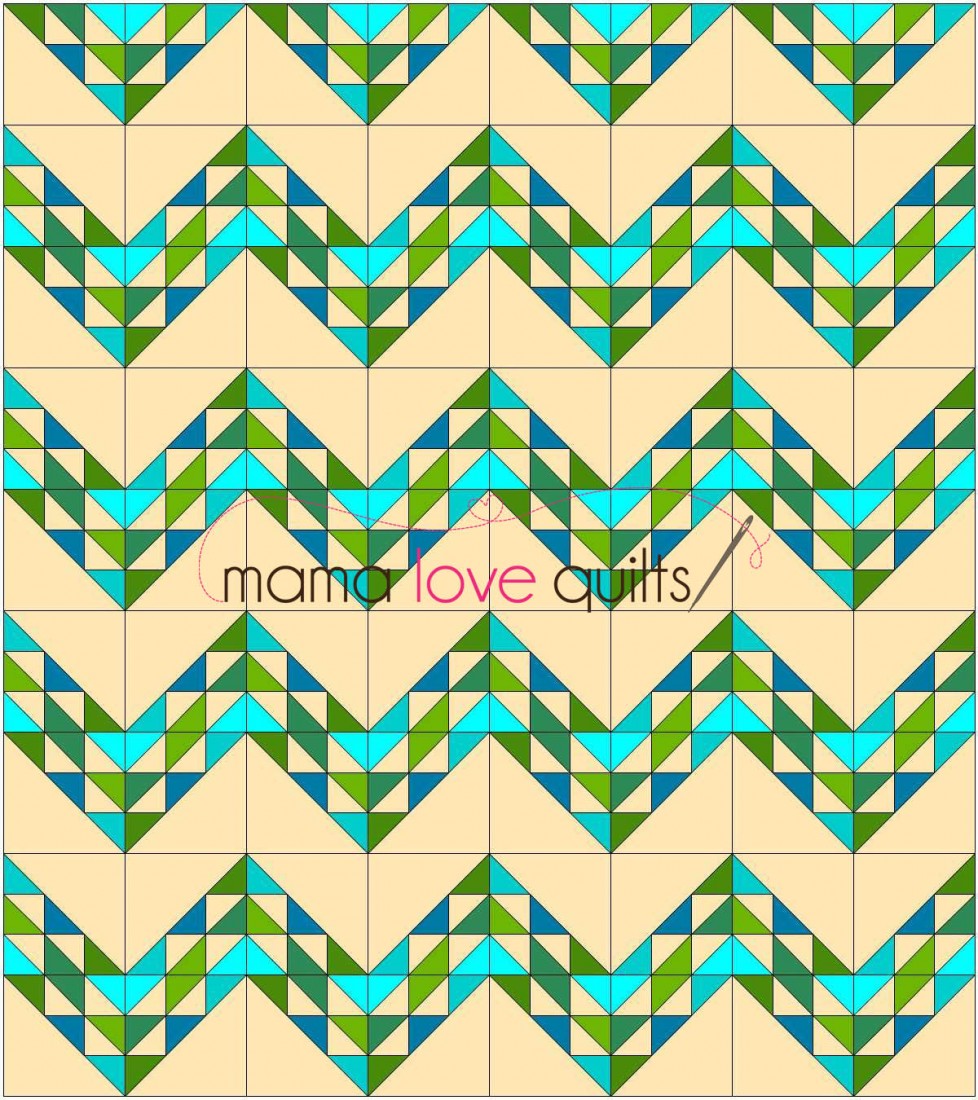
or this…
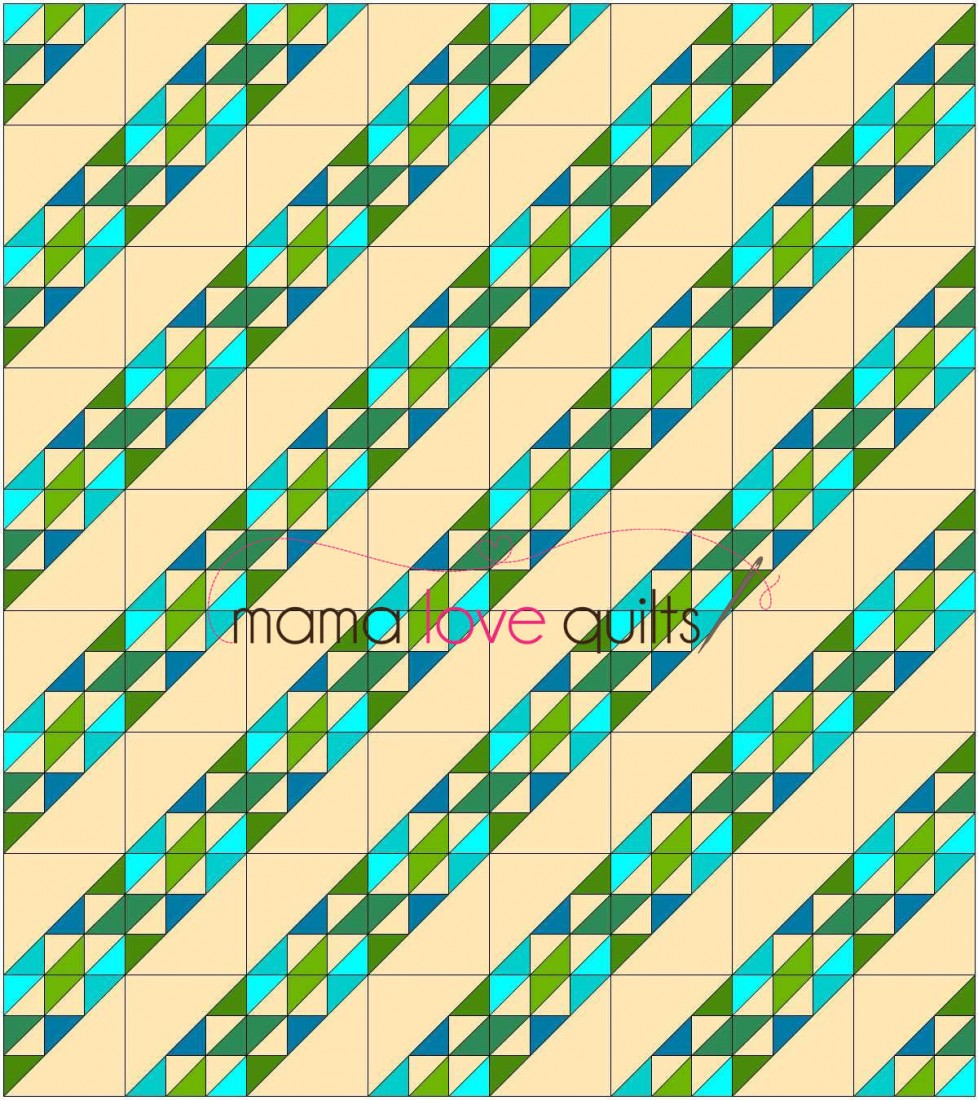
How about diagonals?
The possibilities are endless! Have fun trying out different layouts.
I’d love to see any blocks or quilts that you make using this tutorial. Feel free to add photos to the Mama Love Quilts Flickr group.
Happy sewing!

12 comments
I really like this block – thanks for posting such a clear tutorial!
Lovely block. Thanks for the tutorial.
Carol
Ooh, I'm liking the zig zag option there!
Zig zag all the way! This is going to be a fabulous quilt-and I'm excited I get to be a part of it:)
What a neat block with such fun possibilities!
Just found your site last week, and I am loving everything you're doing. Will add you to the blogs I follow. Happy New Year
Cool! What a great block. I am a bit burned out on sewing though, after that rush of Christmas crafting.
Thanks for this Nicole… I've decided to make these for my 2013 scrappy rainbow blocks as I love having multiple layouts to choose from when it's time to put them together!
I made mine! 🙂 I'll post pics in the flickr group tomorrow. I love the zigzag layout, but I think it'll look great with any of these layouts.
just bookmarked it. 1:25 a.m. still awake but not awake enough for sewing :o).thanks for the tute, nicole!
This is a great design block to come up with a few exciting lay outs. Thank you very much Nicole for shareing the tutorial :)…
Thank you for this tutorial! I have only recently started following your blog and I saw the Birds in the Air quilt finish you posted today. I LOVE it! Obviously I was directed here for the tutorial and I think this is a perfect design for a quilt I want to make for my SIL. I love your blog, your quilt projects are phenomenal – thanks for the inspiration!!
Comments are closed.