
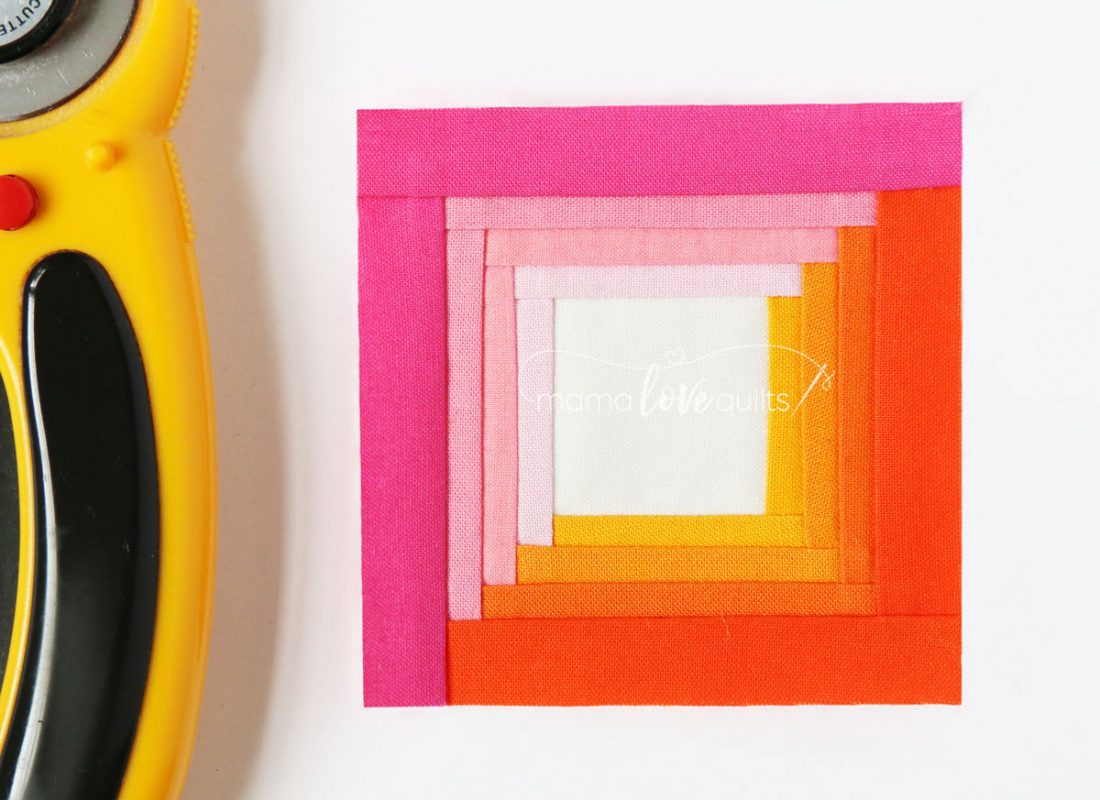
Today, I’m sharing with you a tutorial I used to make a mini log cabin block. The block finishes at 3″ x 3″, with logs that are about 1/4″ wide. Anything that tiny can’t help but be cute.
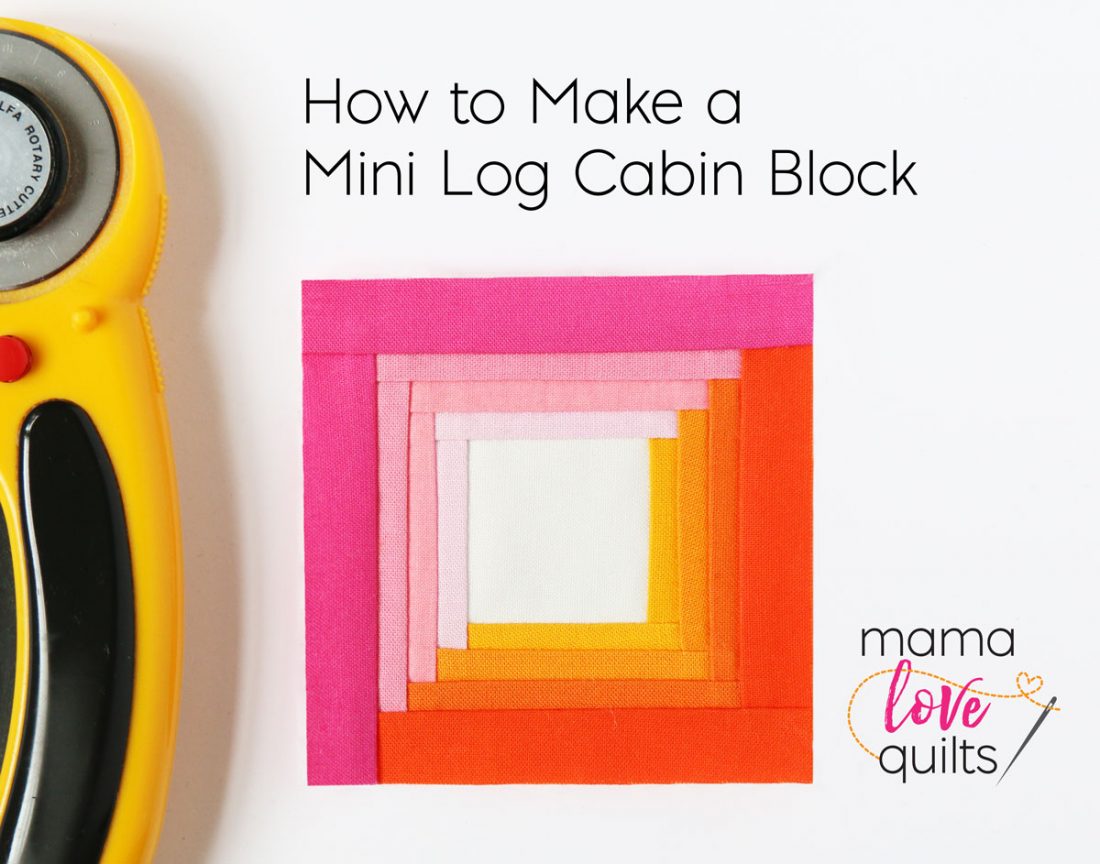
There are so many things you can do with a little itty bitty block like this one. You could make a mini mini, a quilt that is less than 6″ x 6″. Have you seen the mini minis over at Make Modern? How about finishing the block as a pincushion? It could also work as part of a needle book cover or a zip pouch. Or what about using it as the front of a coaster with narrow borders? The possibilities, my friends, are endless!
If you do make something with this tutorial, be sure to tag me (@mamalovequilts) or use #mamalovequilts on IG, Facebook, Twitter or Flickr. I’d love to see what you make.
Here’s what you’ll need:
- One (1) 2” x 2” square of fabric for the center
- Fabric scraps measuring about 1 ½” x 4 ½”
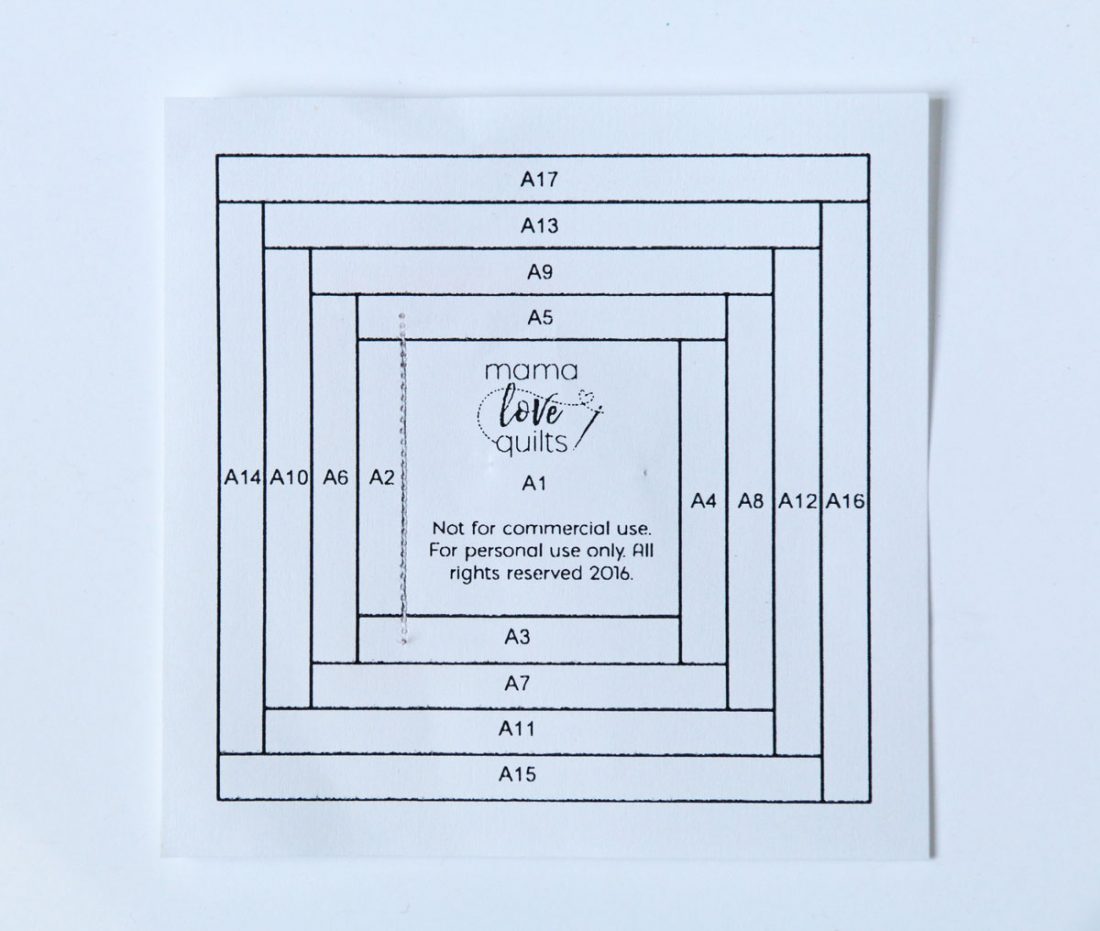
- Paper piecing pattern template: MamaLoveQuilts_Mini Log Cabin Block_3inch
- Light source (e.g., light box, sunlit window, illuminated light bulb)
- Basic sewing supplies
If you’re new to paper piecing, here are a few things to keep in mind:
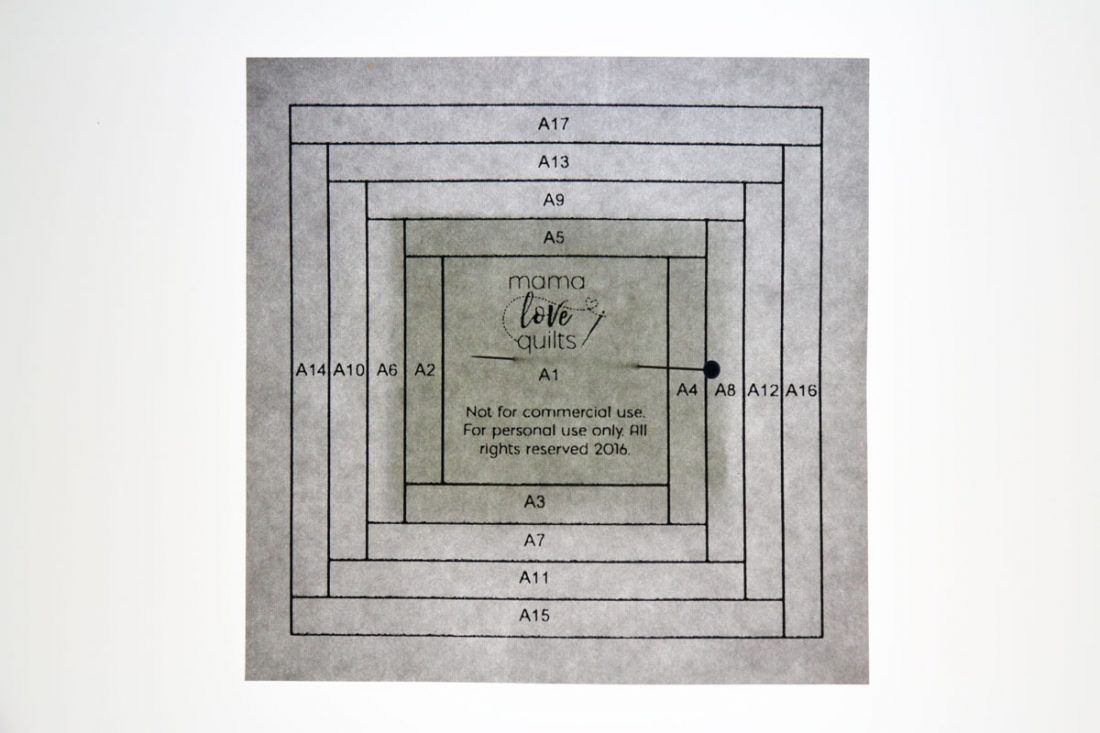
- The idea is to sew the pieces in numerical order starting at A1 and A2 and working one section at a time until you get to A17.
- You will be placing the fabrics on the back of the template and stitching on the lines on the front of the template. That means there will be a lot of flipping back and forth. Be sure to hold or pin the fabric in place so there will be no slipping and sliding when you turn the template over.
- Using a light source can help you see through the paper from the front of the pattern to see if the fabric is positioned properly on the back. I use a light box for my light source, but a sunlight window or illuminated light bulb will work too.
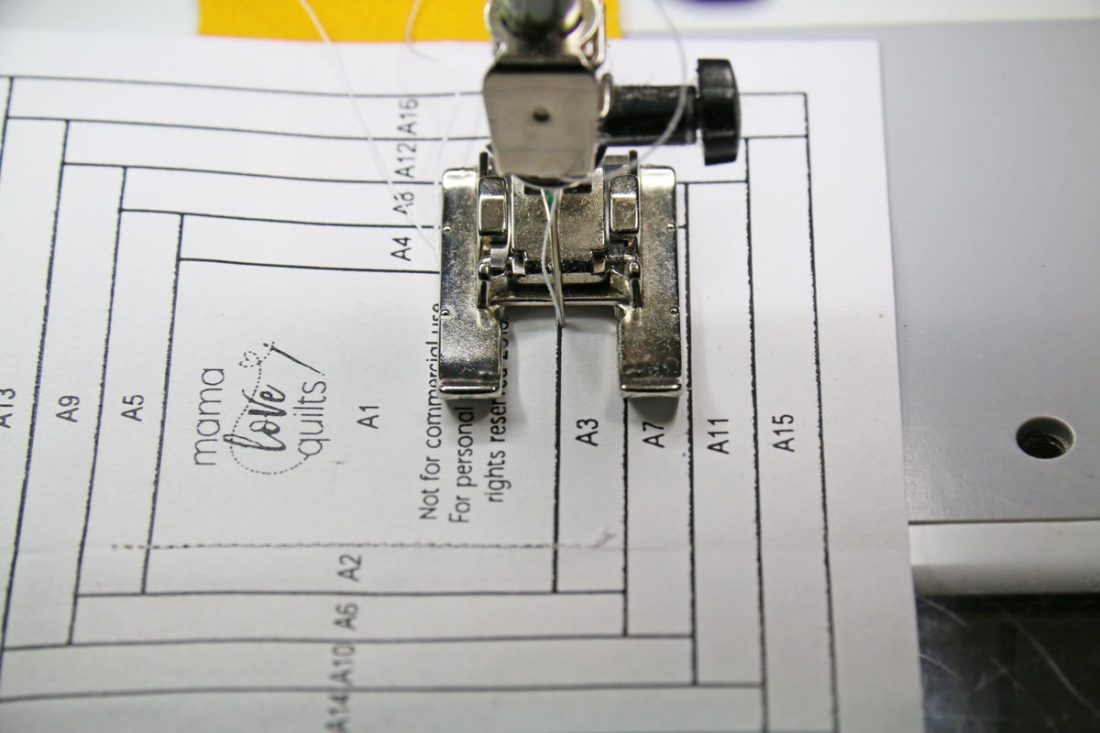
- Reduce your stitch length to secure the stitches for when you remove the paper at the end and to make paper removal easier. I use a stitch length of 1.4.
- You don’t need exact sized pieces of fabric for paper-piecing. Generously sized pieces are easier to work with than smaller pieces. It can waste some fabric to use larger pieces, but using larger pieces ensures that the fabric will fit the section you are working on.
- Always double check before sewing that the fabric will cover the section you are working on by folding the fabric back along the stitching line to see if it will fit after sewn.
What to do:
Print the template at 100%. Measure the 1” square to make sure the template printed to the correct size. Cut out the template.
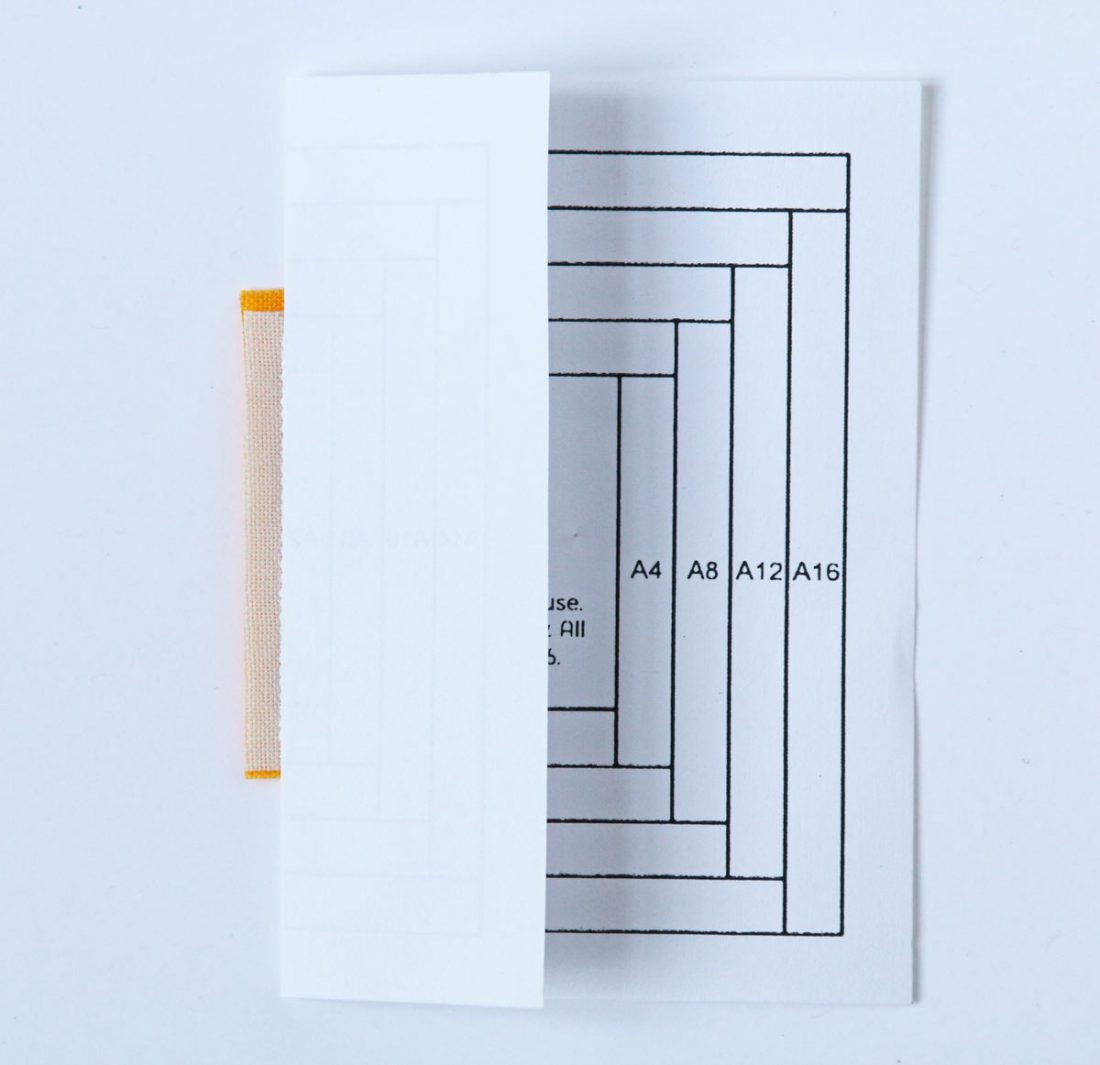
Pin the 2” x 2” background fabric on the back of the center of the template (A1). Here is a photo of the template on top of a light box with the background fabric in the center.
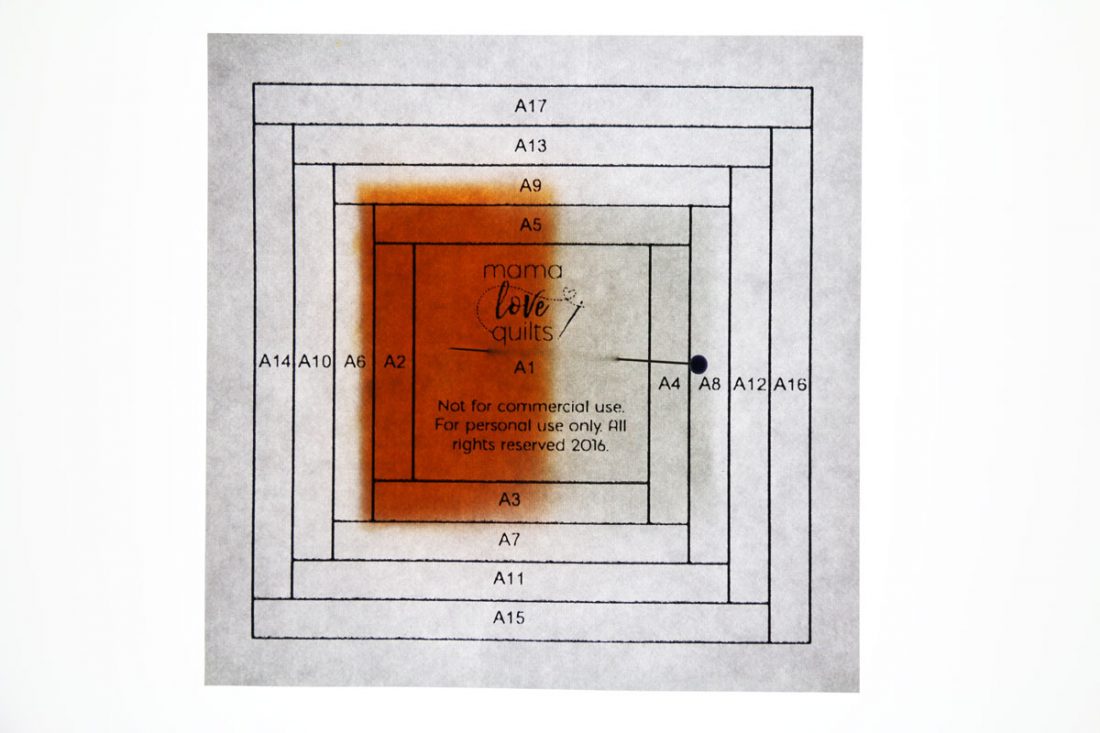
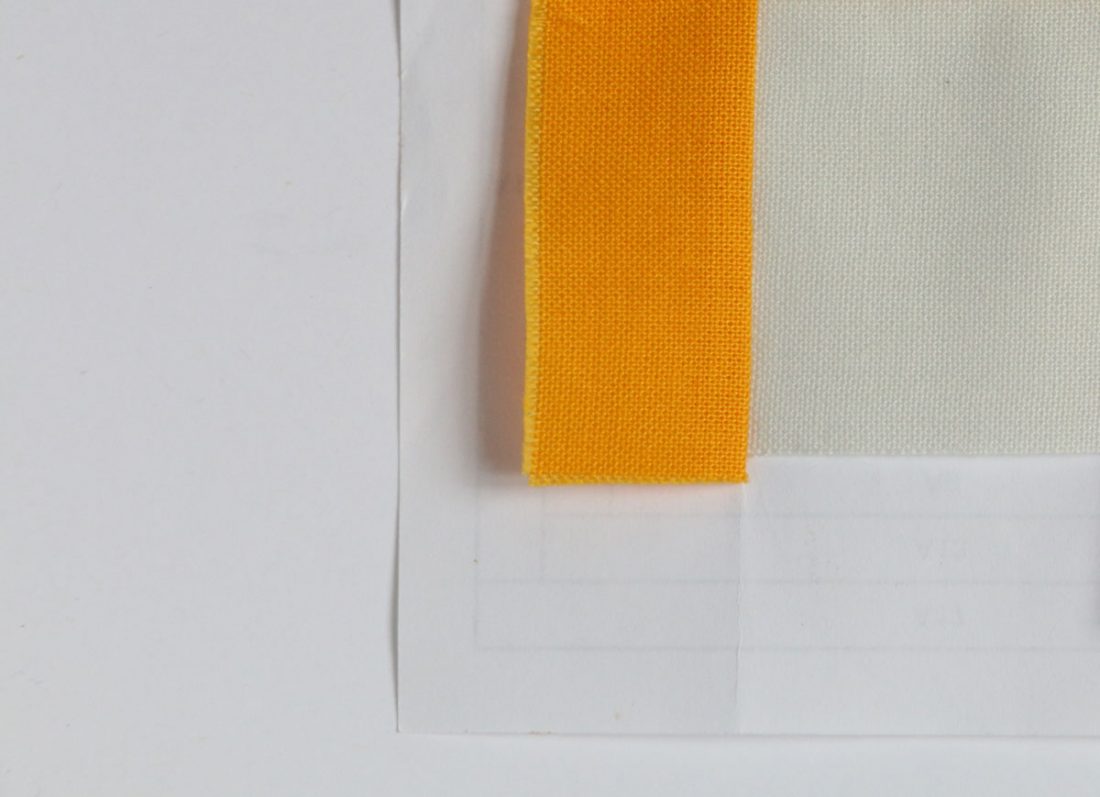
 With right sides together, place the fabric for A2 on top of the A1 fabric, making sure A2 fabric overlaps at least ¼” over the line between A1 and A2.
 Holding the fabrics in place, flip the template over so that the printed side is up. Starting and ending just a couple of stitches beyond the line, sew on the line between A1 and A2.
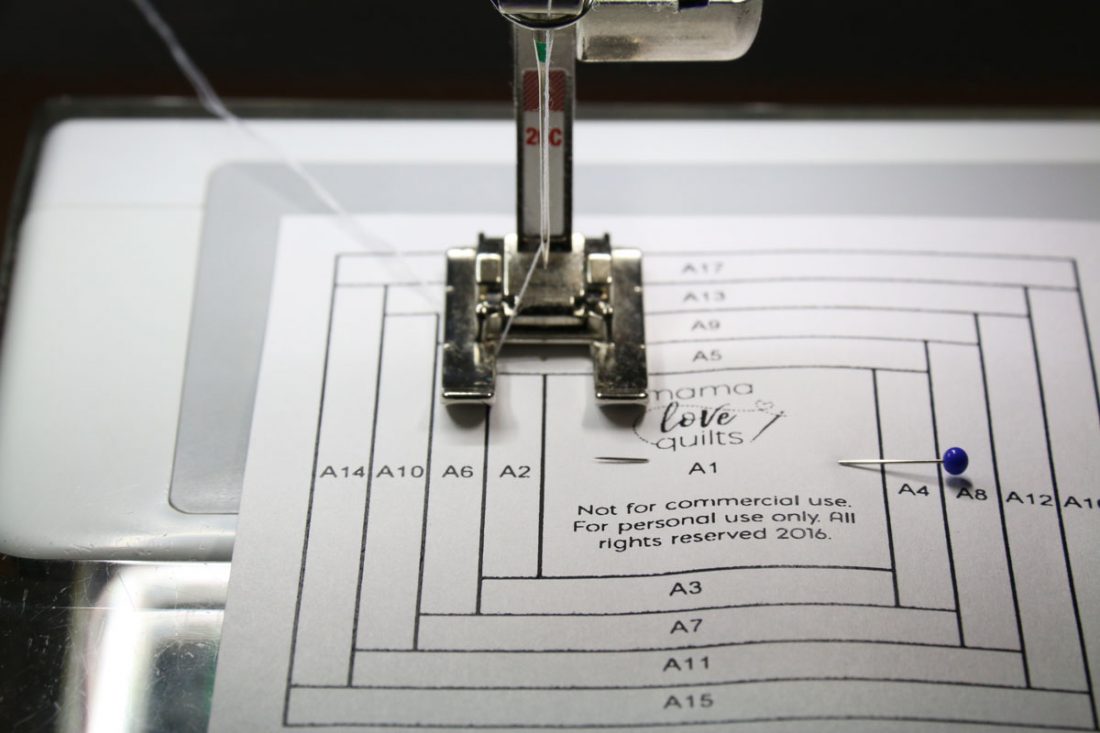
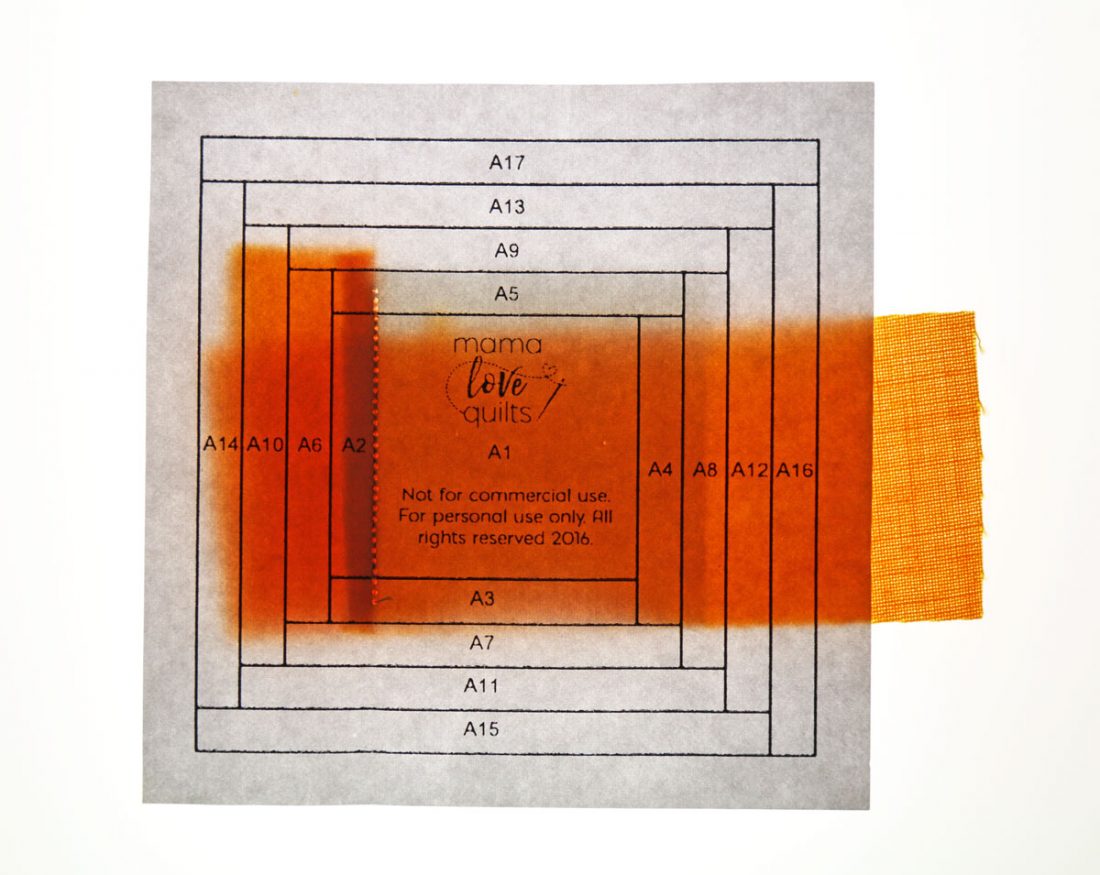
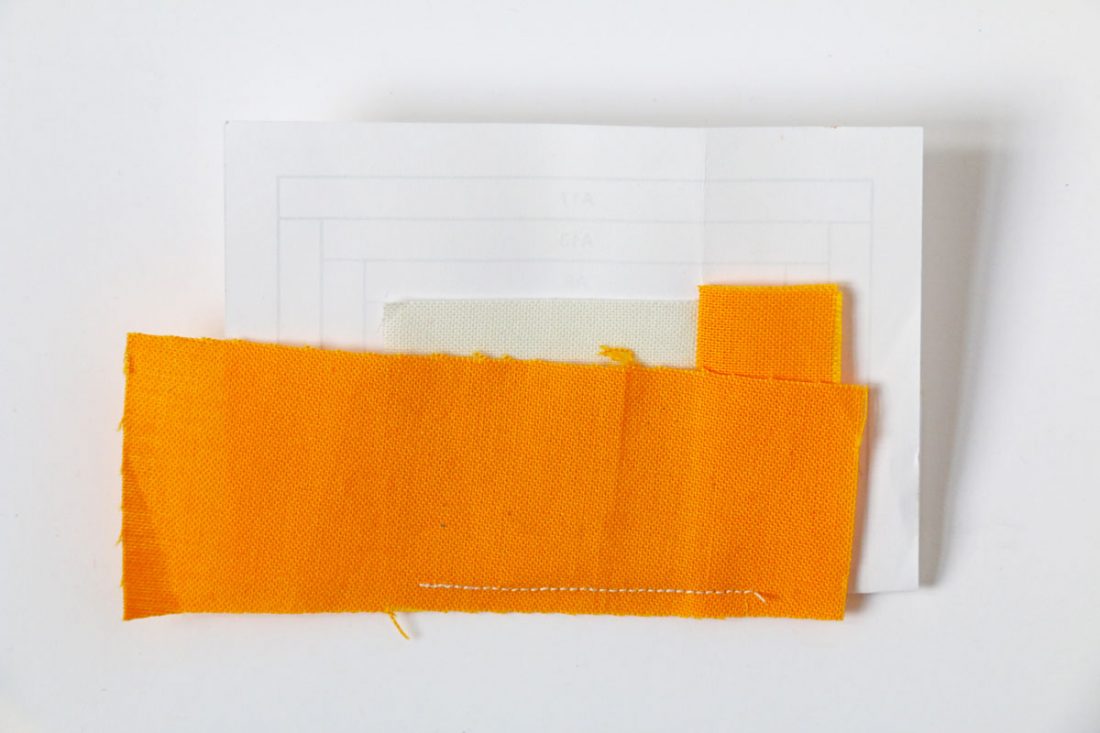
After sewing the line between A1 and A2, the front of the pattern looks like this. Notice that I sewed a little beyond the line at the beginning and end of the line – this is to keep the stitches from unraveling when you take off the paper later.
This is what the other side looks like after sewing between A1 and A2.

Fold back the paper along the line just sewn and trim the seam allowance to 1/8”. Typically you would trim the seam allowance to 1/4” when doing regular paper piecing, but using 1/8” in this case helps reduce the bulk when sewing these narrow logs.
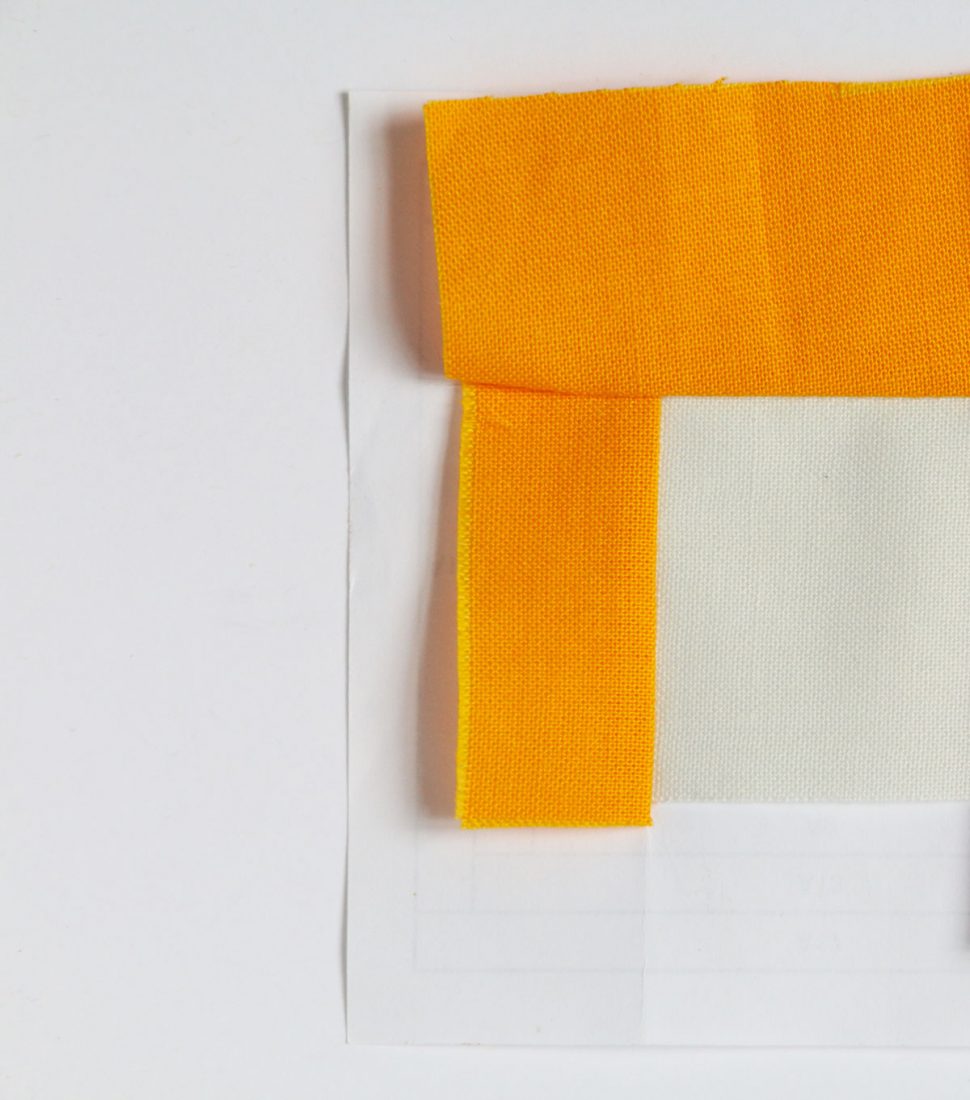
With the fabric facing up, open up the fabrics and press.
With right sides together, position the fabric for A3 at least ¼” over the line between A1 and A3.
 Sew on the line between A1 and A3.
Fold back and trim.
Press.
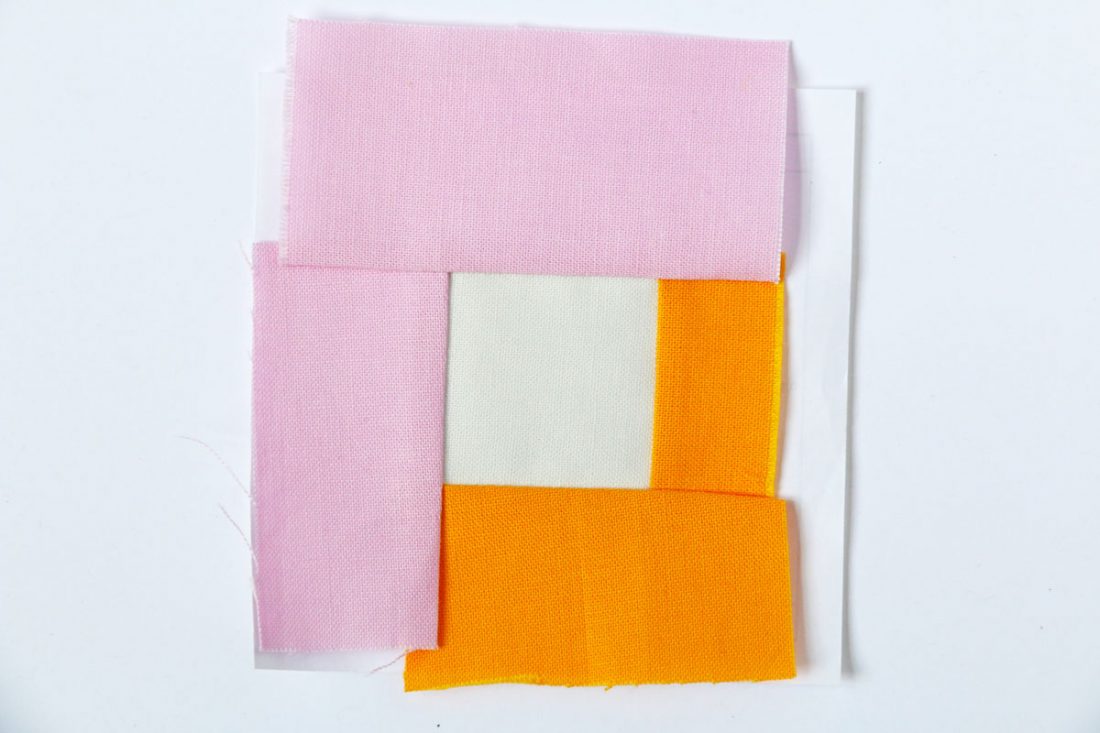
Here is the first round of logs.
 Continue sewing, trimming and pressing one log at a time working your way to A17. Trim the block to 3 1/2″ x 3 1/2″ using the outer lines on the template as a guide. Gently remove the paper.
And behold your mini log cabin block!
Questions? Let me know in the comments below.

15 comments
Very sweet! Thanks for the template!
My pleasure! Enjoy!
What great colors and SO tiny, Nicole! Thanks for such an easy to understand tutorial 🙂
Thanks, Karen! And thank you for the feedback on the tutorial!
maybe just maybe I will be able to make this have a total blockage when it comes to FPP but your tutorial looks as though I might be able to do it thankyou
Margaret, I think you can! Let me know if you have any questions.
I love it!!! Now off to the library to print off that template 🙂 Thanks sew much!!!!
My pleasure! Happy sewing, Sarah!
I love mini! And the colors you choose are gorgeous together! Thanks for sharing and the paper piece template! I must give it a whirl!
Thanks, Jayne! Go for it! Let me know if you have any questions.
This is adorable! It would make a cute tree ornament also!
Your skinny logs are perfect, and I love the cube shape for your finished pin cushion.
Thanks, Marla! Paper-piecing definitely helps with skinny logs!
Ah…… what a beauty. And you also added a template for us – thank you so much! Have you seen Debbie’s take on it? Just as beautiful! I know I will try this!
Thanks, Claudia! Yes, indeed! I love Debbie’s mug rug!
Comments are closed.